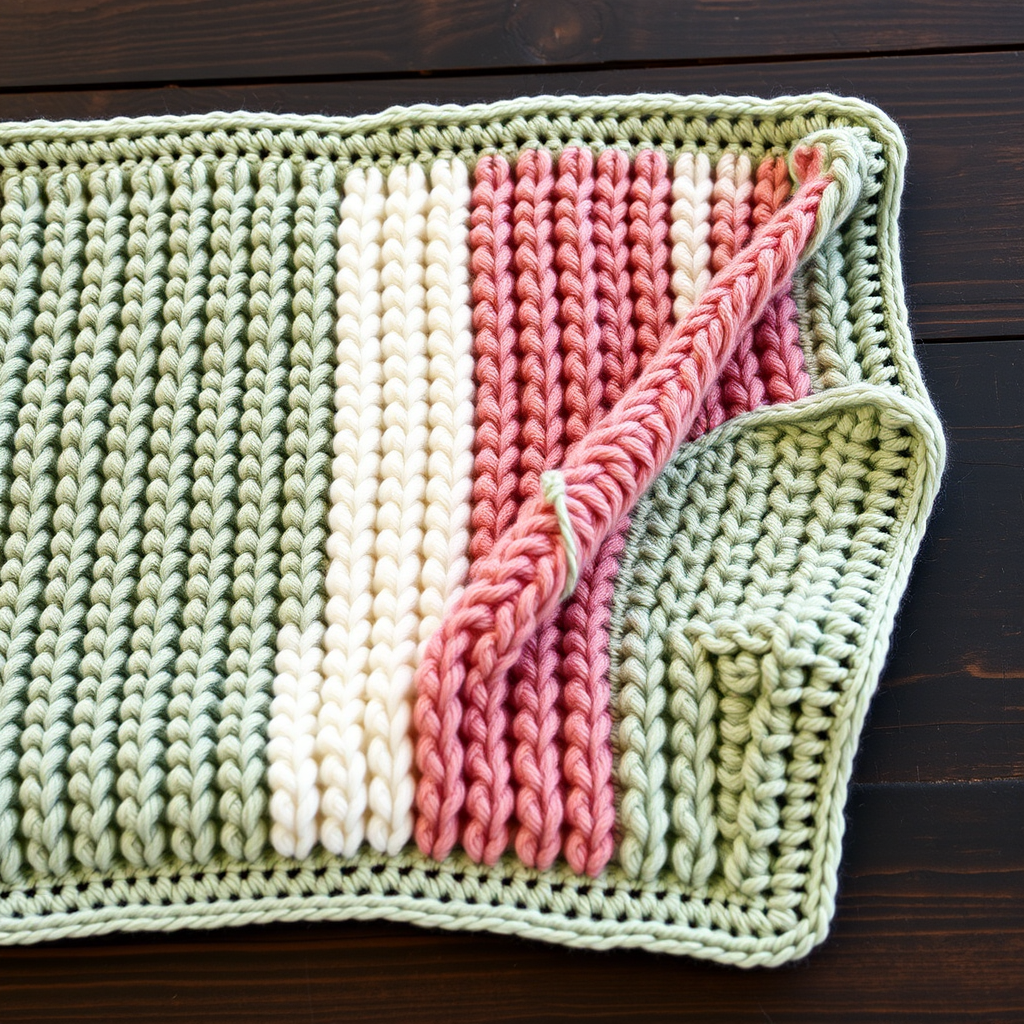
Sunny Meadow Checkerboard Baby Blanket Free Pattern

Sunny Meadow Checkerboard Baby Blanket: A Free Crochet Pattern for Beginners
Welcome to a world of sunshine and softness! Today, I'm thrilled to share a pattern that has captured my heart: the Sunny Meadow Checkerboard Baby Blanket. This isn't just any baby blanket; it's a modern heirloom piece that combines the timeless charm of a checkerboard with a delightfully tactile, textured finish. The soft butter yellow and creamy white palette is cheerful without being overwhelming, making it a perfect gift for a new arrival or a lovely treat for your own little one.
What makes this pattern so special is its ingenious simplicity. By alternating standard double crochet with raised front post double crochet, we create a woven, dimensional effect that looks far more complex than it actually is. This is a fantastic project for confident beginners looking to expand their skills, or for seasoned crocheters who want a relaxing, meditative make. The result is a cozy, textured, and utterly adorable blanket that will be treasured for years to come.
Materials Needed: Gathering Your Sunshine
Before we dive into the stitches, let's make sure you have everything you need. This project is wonderfully straightforward, requiring just a few key supplies.
Yarn
- Color A (Soft Butter Yellow): Approximately 1200 yards of worsted weight yarn.
- Color B (Cream/White): Approximately 1200 yards of worsted weight yarn.
Pro-Tip: I recommend a soft, machine-washable acrylic or a cotton blend for easy care—a must for any baby item!
Hook and Notions
- Crochet Hook: Size I/9 (5.5 mm). This is the perfect size to create a dense, snuggly fabric that's still soft and drapey.
- Other Notions: A yarn needle for weaving in ends and a pair of scissors. That's it!
Gauge
14 double crochet (dc) x 8 rows = 4 inches in the pattern stitch. While gauge isn't critical for a blanket, it's always a good idea to check it to ensure your finished size is as expected.
Step-by-Step Instructions: Crafting Your Checkerboard
This blanket is worked in one piece, which means no tedious seaming at the end! We'll be using a combination of double crochet (dc) and front post double crochet (fpdc) to build our textured squares. The pattern repeat is a multiple of 8 + 3 stitches.
Getting Started: The Foundation
With Color A, chain (ch) 115. This will give you a beautiful, generous baby blanket width. (Remember, you can chain any multiple of 8 + 3 for a different width.)
Row 1: The Base Row
Double crochet (dc) in the 4th chain from your hook and in each chain across. Turn. You should now have 113 double crochet stitches. This row creates a solid, even base for our pattern.
Rows 2-9: Creating the Checkerboard Texture
Now for the magic! We'll be working in repeating blocks of 4 stitches. The key is to remember that a fpdc (front post double crochet) creates a raised, textured "bump," while a regular dc creates a smooth, flat "valley."
Row 2 (Color A): Ch 3 (this counts as your first dc), dc in the next 3 stitches. *Front post double crochet (fpdc) in the next 4 stitches, dc in the next 4 stitches; repeat from * across, ending with dc in the last 4 stitches. Turn.
Tip: To make a fpdc, yarn over, insert your hook from front to back to front around the post of the stitch in the row below, yarn over and pull up a loop, then complete it like a regular double crochet.
Row 3 (Color A): Repeat Row 2 exactly. This gives your raised blocks a nice, chunky height.
Row 4 (Color A): Ch 3, fpdc in the next 4 stitches. *Dc in the next 4 stitches, fpdc in the next 4 stitches; repeat from * across, ending with fpdc in the last 4 stitches. Turn.
Notice: We've now offset the pattern! The blocks that were raised are now flat, and the flat blocks are now raised. This is what creates the checkerboard.
Row 5 (Color A): Repeat Row 4 exactly.
Row 6 (Color A): Repeat Row 2.
Row 7 (Color A): Repeat Row 2.
Row 8 (Color A): Repeat Row 4.
Row 9 (Color A): Repeat Row 4.
Switching Colors and Continuing the Pattern
You've just completed your first 8-row pattern repeat! Now, it's time to introduce Color B. Simply fasten off Color A at the end of Row 9 and join Color B with a slip stitch.
Repeat Rows 2-9 with Color B. Then, switch back to Color A for another 8 rows. Continue this rhythm—4 rows of Color A, 4 rows of Color B—until your blanket measures approximately 36 inches long. Be sure to end with a complete 4-row section of Color B.
The Finishing Touch: A Clean Border
Once your blanket reaches the desired length, we'll add a neat, polished edge. With Color A, work a final row: Ch 3, dc in each stitch across. Fasten off.
Now for the border:
- Round 1: Attach Color A to any corner. Ch 1, single crochet (sc) evenly around the entire blanket, working 3 sc in each corner to help the corners lay flat. Join with a slip stitch to the first sc.
- Round 2: Ch 1, sc in each sc around, again working 3 sc in each corner. Join and fasten off.
Finally, take your yarn needle and weave in all those loose ends. Give your beautiful new blanket a gentle block if desired, and it's ready to be loved!
I hope you enjoy creating this Sunny Meadow Checkerboard Baby Blanket as much as I did. It's a truly rewarding project that results in a beautiful, heirloom-quality gift. Happy crocheting!