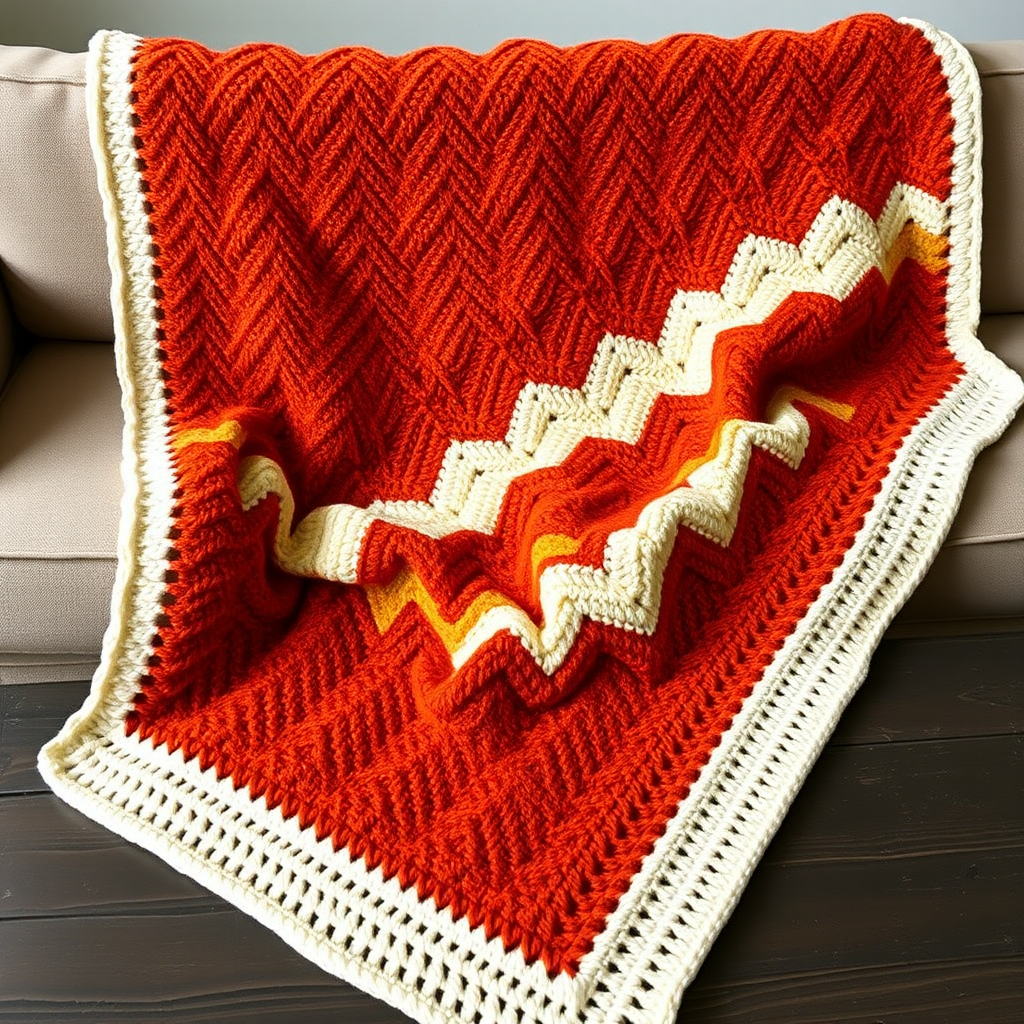
Stone Stack Moss Stitch Blanket Free Pattern: A Japandi Crochet Throw

Introduction
If you have never held a crochet hook before, the Stone Stack Moss Stitch Blanket is the perfect first big project for you. It is a calm, square throw worked flat in simple rows of moss stitch, which is really just single crochet and chain one repeated over and over. Because the pattern repeats the same easy row for the whole blanket, you will find your rhythm within the first few rows and can relax into the soothing, meditative motion. The finished blanket is about 36 inches (91.5 cm) square and feels dense, nubby, and wonderfully tactile, with small single crochet bumps separated by tiny chain spaces. Three wide horizontal bands of stone gray, warm clay, and soft cream give it a serene Japandi look, and a tidy two-round single crochet edging in cream frames the whole thing like a picture. It looks like something from a beautiful home store, but you made it yourself, one stitch at a time.
Materials Needed
- Yarn: DK weight (category 3) yarn, approximately 1,050 yd [960 m] total. Broken down: 420 yd [384 m] stone gray (Color A), 315 yd [288 m] clay (Color B), and 315 yd [288 m] cream (Color C). The sample uses a smooth cotton-linen blend DK, which gives a soft matte finish and beautiful stitch definition.
- Crochet hook: G/6 (4.0 mm), or whatever size you need to match the gauge below.
- Stitch markers: At least 4, to mark corners and color changes.
- Tapestry needle: A blunt, large-eyed needle for weaving in ends.
- Scissors: Sharp craft scissors for cutting yarn.
- Measuring tape or ruler: For checking gauge and finished size.
- Blocking supplies: Pins and a spray bottle of water, or a blocking mat.
- Finished size: Approximately 36 in [91.5 cm] square.
Abbreviations and Beginner Glossary
Every term below is written in US crochet terms. Read through this list once before you begin, and come back to it any time a word in the pattern feels unfamiliar.
- ch – chain. Make a loop of yarn over your hook and pull it through the loop already on your hook. This creates a small chain link. A row of chains is how most crochet projects begin.
- sc – single crochet. Insert your hook into the stitch, yarn over (wrap yarn around hook), pull up a loop (you now have 2 loops on the hook), yarn over again, and pull through both loops. One single crochet made.
- sp – space. The little gap or hole created by a chain. When the pattern says "ch-1 sp," it means the small opening under a chain-one from the row below.
- st(s) – stitch or stitches. One completed unit of crochet.
- RS – right side. The "front" or "pretty" side of your work that will face outward on the finished blanket.
- sl st – slip stitch. Insert your hook into the stitch, yarn over, and pull that loop straight through the loop on your hook and through the stitch, all in one motion. It creates an almost invisible join.
- Moss stitch – also called linen stitch. It is a repeating pattern of (single crochet, chain 1) worked into each chain-one space of the previous row, skipping each single crochet. This is the only stitch pattern used in the blanket body.
- Turn – flip your work over to the other side so you can work back across the row you just finished.
- Fasten off – cut the yarn a few inches from your work, then pull the tail all the way through the last loop to lock it.
- Join – attach a new color or connect the end of a round to its beginning, usually with a slip stitch.
- Rnd – round. A row that goes all the way around the outside edge of the blanket and joins into a circle.
Gauge
18 sts and 18 rows = 4 in [10 cm] in moss stitch (the sc, ch 1 pattern), measured after light blocking.
Gauge simply means how big your stitches turn out. If your stitches are looser or tighter than the designer's, your blanket will come out bigger or smaller than 36 inches. Because this blanket is a simple square, gauge matters mostly for the finished size and for making sure your three color blocks stay even. To check your gauge, crochet a small practice square about 6 inches (15 cm) wide using the moss stitch pattern, then lay it flat and measure across the middle. Count how many single crochet stitches fit in 4 inches and how many rows fit in 4 inches. If you have more stitches than 18, your stitches are too tight, so try a larger hook. If you have fewer than 18, your stitches are too loose, so try a smaller hook. Always make a swatch before starting a large project, and give it a light press or spritz of water first, because yarn relaxes after blocking.
Beginner Tips Before You Start
- Count your stitches every few rows. You should always have 81 single crochet stitches and 81 chain-one spaces across each row. If you lose your place, count the single crochet bumps along the top edge.
- Use stitch markers to track color changes. Place a marker in the first stitch of the row where you change colors, and one in each corner once you reach the edging. This saves you from recounting.
- Do not pull your yarn too tight. Beginners often grip the yarn hard, which makes the fabric stiff and shrinks the blanket. Keep a relaxed, even tension so the moss stitch stays soft and drapey.
- Carry your colors up the side edge. When you switch from gray to clay, do not cut the gray yarn. Leave it hanging at the side and pick it up later if needed. This keeps the edge tidy and saves yarn.
- Remember the turning chain does not count. The chain one at the start of each row is just a little lifter to get your hook up to the right height. It is never counted as a stitch.
- Work in good light and take breaks. Moss stitch is repetitive, which is lovely and relaxing, but tired eyes miscount. Stop every 20 minutes to stretch your hands.
Step-by-Step Instructions
Notes Before You Begin
The blanket is worked flat, back and forth in rows, turning at the end of every row. The turning chain one at the start of each row does not count as a stitch. Carry colors up the side edge and do not cut between rows within a color block. Change color on the final yarn-over of the last single crochet of the row before the new block begins.
Setup
With Color A (stone gray), ch 163.
Row 1 (RS): Sc in 2nd ch from hook, ch 1, *skip next ch, sc in next ch, ch 1; rep from * across to last ch, sc in last ch. Turn. (81 sc, 81 ch-1 sps)
Color Block 1 — Stone Gray (A)
Row 2: Ch 1, sc in first sc, ch 1, *sc in next ch-1 sp, ch 1; rep from * across to last sc, sc in last sc. Turn. (81 sc, 81 ch-1 sps)
Rows 3–54: Repeat Row 2. (81 sc, 81 ch-1 sps) You now have 54 rows total in Color A, which measures about 12 inches (30.5 cm).
Color Block 2 — Clay (B)
Row 55: Change to Color B on the final yarn-over of the last sc of Row 54. Ch 1, sc in first sc, ch 1, *sc in next ch-1 sp, ch 1; rep from * across to last sc, sc in last sc. Turn. (81 sc, 81 ch-1 sps)
Rows 56–108: Repeat Row 55. (81 sc, 81 ch-1 sps) You now have 54 rows in Color B, about 12 inches (30.5 cm).
Color Block 3 — Cream (C)
Row 109: Change to Color C on the final yarn-over of the last sc of Row 108. Ch 1, sc in first sc, ch 1, *sc in next ch-1 sp, ch 1; rep from * across to last sc, sc in last sc. Turn. (81 sc, 81 ch-1 sps)
Rows 110–162: Repeat Row 109. (81 sc, 81 ch-1 sps) You now have 54 rows in Color C, about 12 inches (30.5 cm). Fasten off and weave in ends.
Math check: 162 stitches wide ÷ 18 stitches per 4 inches = 36 inches wide. 162 rows tall ÷ 18 rows per 4 inches = 36 inches tall. Each color block is 54 rows, or 12 inches. Your blanket is a perfect 36-inch square.
Edging (worked in Color C around the entire blanket)
Rnd 1: With the right side facing you, join Color C in any corner. Ch 1, work single crochet evenly around the entire perimeter, working 3 sc in each corner. Join with a slip stitch to the first sc. (Approx 162 sc per side plus 3 sc per corner.)
Rnd 2: Ch 1, sc in each sc around, working 3 sc in each corner sc. Join with a slip stitch to the first sc. Fasten off. (Same stitch count as Rnd 1, with 3 sc in each corner.)
Assembly and Finishing
This blanket is worked in one piece, so there is no seaming to do. The finishing is all about tidying and shaping.
- Weave in ends: Thread each yarn tail onto your tapestry needle. Working on the wrong side, weave the tail in and out through the backs of several stitches, changing direction once so it locks in place. Trim the yarn close to the fabric. Do this for every color change and for the final tail.
- Block lightly: Lay the blanket flat on a blocking mat or a clean towel. Spritz it evenly with water until damp but not soaking. Gently pat and stretch it into a perfect 36-inch square, pinning each corner square with your pins. Use your measuring tape to check that all four sides are equal.
- Dry completely: Leave the blanket undisturbed until it is fully dry, usually overnight. Remove the pins and give the blanket a gentle shake to soften the fabric.
Pro Tips and Variations
- Change the colors: Swap the stone gray, clay, and cream for any three shades you love. Try sage, oatmeal, and charcoal for a moodier look, or blush, ivory, and sand for something softer. Keep the same yardage for each block.
- Adjust the size: To make a smaller baby blanket, chain 123 instead of 163 and work 122 rows, keeping the same three equal color blocks. To make a larger throw, add 20 chains and 20 rows for every extra 4 inches of width and height.
- Substitute yarn: Any DK weight (category 3) yarn will work, but choose a smooth, plied yarn so the moss stitch texture stays crisp. Avoid fuzzy or highly textured yarns, which hide the stitch pattern.
- Add a striped border: For extra interest, work the two edging rounds in a contrasting color, such as clay, to frame the cream edge and tie the palette together.