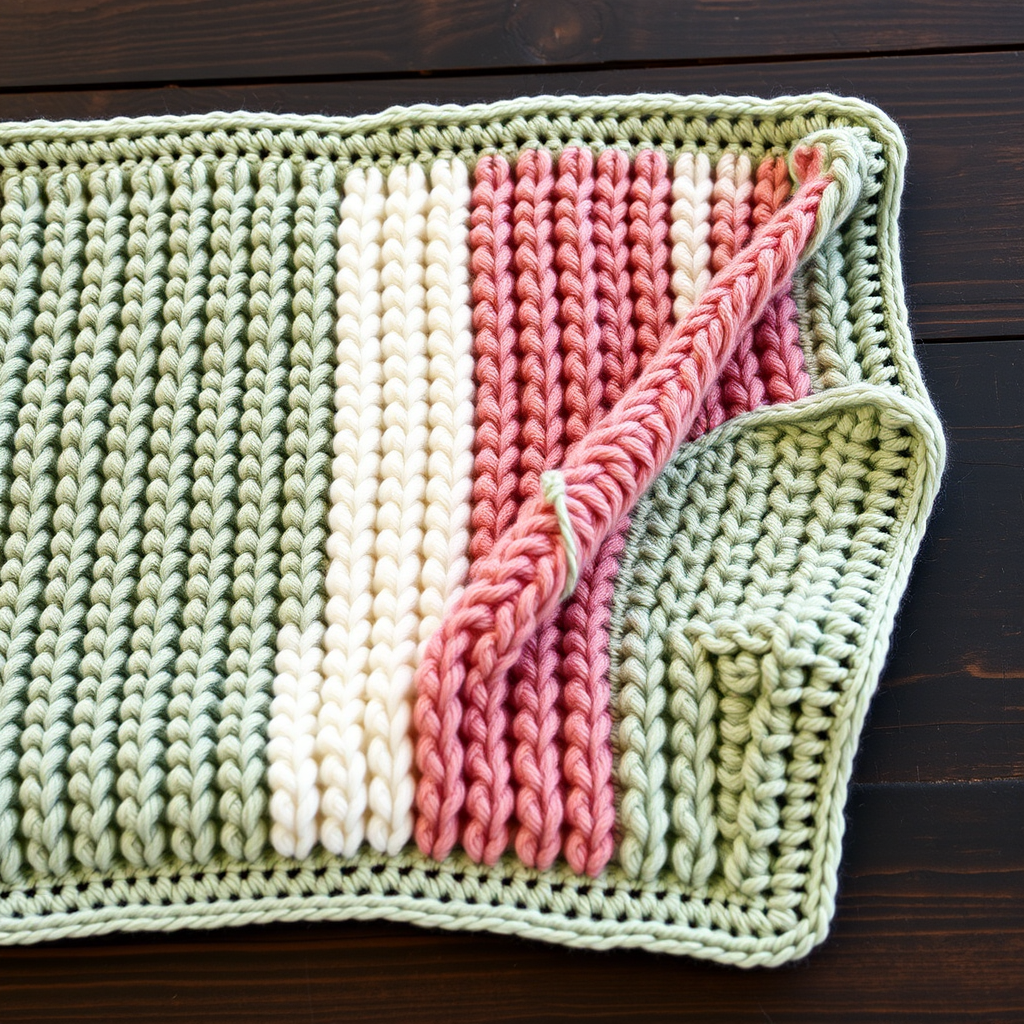
Rapid Ripple Baby Blanket Free Pattern – Ocean Waves Crochet Throw

Dive Into Serenity: The Rapid Ripple Baby Blanket Free Pattern
There is something inherently calming about the ebb and flow of ocean waves—a gentle rhythm that soothes the soul and invites tranquility. Now, imagine capturing that serene motion in a handmade treasure for a new arrival. Welcome to the Rapid Ripple Baby Blanket, a quick-to-stitch crochet throw that brings the soothing rhythm of the sea right into your nursery. With its mesmerizing wave pattern and calming coastal hues, this blanket is not just a practical accessory; it's a piece of art designed to wrap your little one in comfort and peace.
This pattern is perfect for beginners and seasoned crocheters alike. The simple, repetitive stitch creates a stunning textured surface that works up fast with chunky yarn, making it an ideal last-minute gift or a delightful weekend project. Whether you're decorating a coastal-themed nursery or simply looking for a mindful crafting session, this ripple blanket is your ticket to a handmade hug from the ocean.
Materials Needed
Before we dive into the waves, let's gather your materials. This project is wonderfully straightforward, requiring just a few essentials:
- Yarn: Super bulky weight yarn (size 6) in 3 colors:
- Color A (Soft Aqua): Approx. 200g
- Color B (Seafoam Green): Approx. 150g
- Color C (Creamy White): Approx. 150g
- Crochet Hook: 9mm (M/N) crochet hook
- Other Tools: Yarn needle for weaving in ends, scissors
Gauge: 4 ripple repeats (12 stitches) and 6 rows = 10 cm (4 inches) in pattern. Tip: Always check your gauge to ensure your blanket matches the intended size, though this pattern is forgiving for slight variations.
Step-by-Step Instructions
Now, let's set sail on this crochet journey. Follow these detailed instructions carefully, and you'll have a beautiful ocean-inspired blanket in no time. The pattern is based on a multiple of 12 stitches plus 3 for turning.
Getting Started: The Foundation Chain
Chain 120 loosely. Pro tip: Use a larger hook for the foundation chain if you tend to crochet tightly—this keeps the bottom edge stretchy and even. This chain will form the base of your ripple pattern.
Row 1: Establishing the Ripple
- Work 2 double crochet (dc) into the 4th chain from your hook. (The skipped chains count as your first double crochet.)
- *Dc in the next 4 chains.
- Skip 2 chains. (This creates the valley of the wave.)
- Dc in the next 4 chains.
- Work (dc, chain 2, dc) all into the next chain. (This creates the peak of the wave.)
- Repeat from * across the row, ending with dc in the last 4 chains, then 2 dc in the very last chain. Turn your work.
Row 2: Building the Pattern
- Chain 3 (this counts as your first double crochet).
- Work 2 dc into the first stitch (the base of the chain 3).
- *Dc in the next 4 stitches.
- Skip 2 stitches. (You'll be skipping the two stitches that formed the valley in the previous row.)
- Dc in the next 4 stitches.
- Work (dc, chain 2, dc) into the next chain-2 space. (This is the peak from the previous row.)
- Repeat from * across the row, ending with dc in the next 4 stitches, then 2 dc into the top of the turning chain. Turn your work.
Important: Row 2 is your magic repeat. You will continue repeating Row 2 for the entire body of the blanket. The peaks and valleys will naturally align, creating the beautiful, rhythmic ripple effect.
Color Changes: Painting Your Ocean
To achieve the stunning coastal stripe effect, you'll change colors every 2 rows. Here's your color sequence:
- Work 2 rows with Color A (Soft Aqua)
- Work 2 rows with Color B (Seafoam Green)
- Work 2 rows with Color C (Creamy White)
- Repeat this sequence (A, A, B, B, C, C) until your blanket measures approximately 90 cm (36 inches) from the start.
How to change colors seamlessly: When you're ready to switch colors, do so on the last yarn over of the final double crochet of the row. Pull the new color through the last two loops on your hook to complete the stitch. This creates a clean, invisible color change. Carry the unused yarn loosely up the side of your work, or cut and weave in ends at the end—whichever you prefer.
Continue this rhythm until your blanket reaches the desired length. For a standard baby blanket, 36 inches is perfect. Tip: End with 2 rows of Color A to frame the blanket symmetrically.
Final Row: A Clean Finish
- Chain 1 (does not count as a stitch).
- Work a single crochet (sc) into each stitch across the row.
- When you reach each chain-2 space (the peaks), work 2 single crochets into that space. This helps keep the edge flat and neat.
- Fasten off and weave in all loose ends with your yarn needle.
Optional Border: A Touch of Elegance
For a polished, finished look, add a simple border using your Color C (Creamy White):
- Attach Color C with a slip stitch in any corner of the blanket.
- Chain 1, then work a round of single crochet evenly around the entire blanket.
- At each corner, work 3 single crochets into the corner stitch to ensure the corners lay flat and turn nicely.
- When you return to your starting point, slip stitch to the first single crochet to join. Fasten off and weave in the end.
Your Ocean Awaits
And there you have it—a stunning, cozy, and beautifully textured Rapid Ripple Baby Blanket that captures the essence of the sea. The soft, chunky yarn makes it incredibly snuggly, while the ripple pattern adds a dynamic, handcrafted charm that store-bought blankets simply can't replicate. Whether it's draped over a crib, used for tummy time, or kept as a cherished keepsake, this blanket is sure to be loved for years to come.
We hope you enjoyed this pattern as much as we loved sharing it. Happy crocheting, and may your stitches always flow like gentle waves!