Mossy Stone Spa Stone Knitting Pattern – Free Pattern
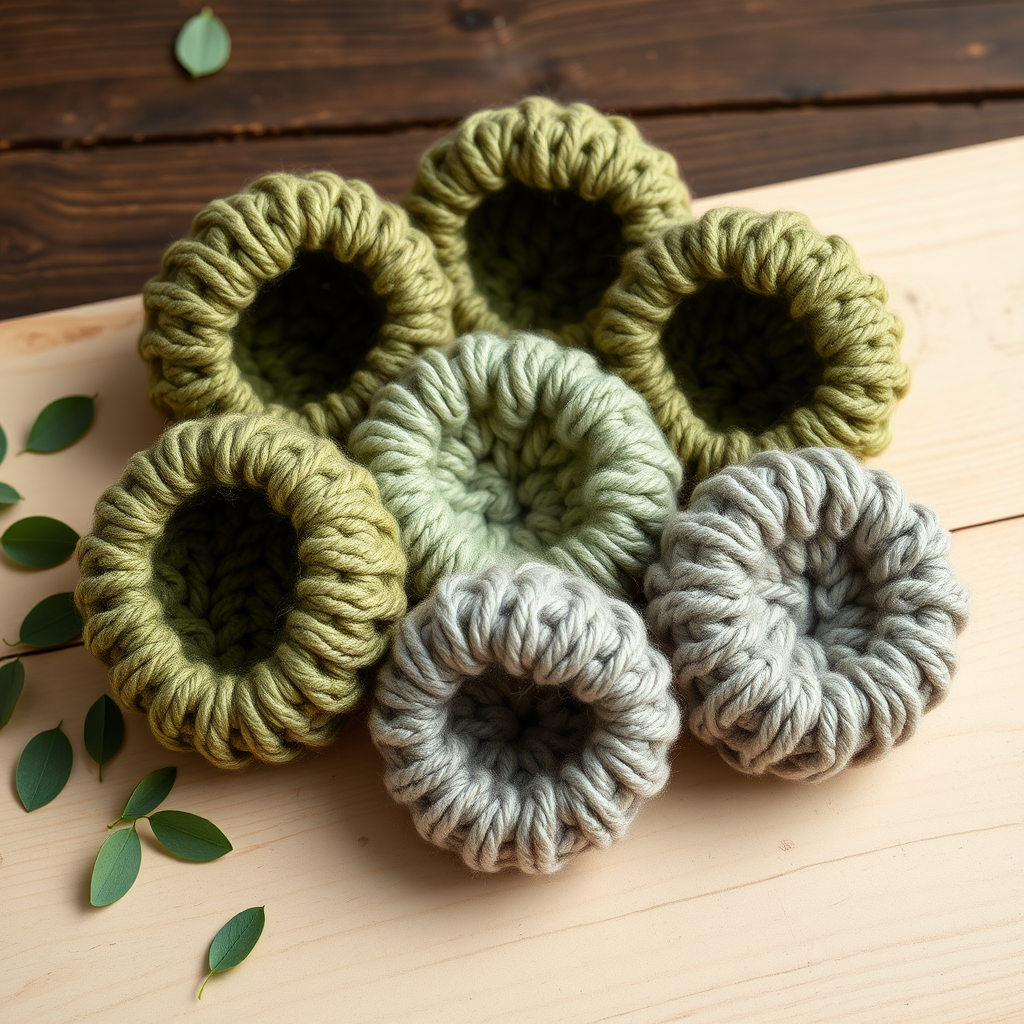
Knit Your Own Mossy Stone Spa Stones: A Free Beginner-Friendly Pattern
Imagine bringing the serene, grounding feeling of a riverbed into your own home. These knitted spa stones are the perfect way to add a touch of natural, tactile calm to your bathroom, meditation space, or coffee table. They are soft, squishy, and feature a beautiful, bumpy seed stitch texture that mimics the look and feel of real river rocks. This free knitting pattern is ideal for beginners, using simple knit and purl stitches and a clever short-row technique to create a rounded, organic shape. Let's get started on crafting your own set of calming, cozy stones.
Materials Needed
Before you begin, gather the following supplies. This project is wonderfully portable and requires minimal materials.
- Yarn: Worsted weight cotton yarn (e.g., Lion Brand 24/7 Cotton) in three colors: two shades of green (moss and sage) and one gray. Cotton is perfect for this project as it provides a firm yet soft texture and is durable for handling.
- Knitting Needles: US 6 (4.0 mm) knitting needles. Straight or circular needles both work fine for knitting flat.
- Other Notions: A yarn needle for seaming, a pair of scissors, and polyester fiberfill for stuffing.
Pattern Gauge & Size
While gauge isn't critical for this project, it will affect the final size of your stones. The pattern is written for a gauge of 20 stitches and 28 rows = 4 inches in stockinette stitch. If you knit loosely or tightly, your stones will simply be a bit larger or smaller, which adds to their natural charm. The finished stones will range from about 3 to 5 inches across.
Step-by-Step Instructions
This pattern creates a rounded, pebble-like stone using short rows and a simple seed stitch texture. Each stone is knit flat and then seamed, with a bit of stuffing for a soft, squishy feel. The seed stitch is created by alternating knit and purl stitches, and the short rows shape the fabric into a dome.
Stone A (Moss Green) – Make 2
- Cast On: Cast on 20 stitches.
- Seed Stitch Body: Work in seed stitch for the main body of the stone.
- Row 1 (RS): *K1, P1* repeat to end.
- Row 2 (WS): *P1, K1* repeat to end.
- Continue: Repeat rows 1-2 until the piece measures 3 inches from the cast-on edge.
- Short Rows for Shaping: This is where the magic happens. You will be turning your work before reaching the end of the row, which creates the curved shape of the stone. Leave the specified number of stitches unworked on the needle.
- Row 1 (RS): K14, turn (leave 6 stitches unworked).
- Row 2: P8, turn (leave 6 stitches unworked).
- Row 3: K10, turn.
- Row 4: P12, turn.
- Row 5: K14, turn.
- Row 6: P16, turn.
- Row 7: K18, turn.
- Row 8: P20 (all stitches worked).
- Finish Body: Continue in seed stitch (alternating K1, P1 as established) for another 2 inches.
- Bind Off: Bind off in pattern (knit the knits and purl the purls as you bind off).
Stone B (Gray) – Make 1
- Cast On: Cast on 16 stitches.
- Seed Stitch Body: Work in seed stitch for 2.5 inches.
- Short Rows for Shaping:
- Row 1 (RS): K12, turn.
- Row 2: P8, turn.
- Row 3: K10, turn.
- Row 4: P12, turn.
- Row 5: K14, turn.
- Row 6: P16 (all stitches).
- Finish Body: Continue in seed stitch for 1.5 inches.
- Bind Off: Bind off in pattern.
Stone C (Sage Green) – Make 2
- Cast On: Cast on 24 stitches.
- Seed Stitch Body: Work in seed stitch for 3.5 inches.
- Short Rows for Shaping:
- Row 1 (RS): K18, turn.
- Row 2: P12, turn.
- Row 3: K14, turn.
- Row 4: P16, turn.
- Row 5: K18, turn.
- Row 6: P20, turn.
- Row 7: K22, turn.
- Row 8: P24 (all stitches).
- Finish Body: Continue in seed stitch for 2.5 inches.
- Bind Off: Bind off in pattern.
Finishing Your Spa Stones
Once you have all your pieces knitted, it's time to assemble them into soft, squishy stones.
- Fold and Seam: Fold each knitted piece in half with the right sides (the outside of the stone) together. Using your yarn needle and a length of matching yarn, sew the side seams together using a whip stitch or mattress stitch. Important: Leave a small opening of about 2-3 inches along one of the seams.
- Turn Right Side Out: Carefully turn the stone right side out through the opening you left. Use a knitting needle or a chopstick to gently push out the corners and shape the stone.
- Stuff: Stuff the stone lightly with polyester fiberfill. The goal is a soft, squishy feel, not a hard, over-stuffed one. You want it to be pleasantly tactile and moldable in your hand.
- Close the Opening: Sew the opening closed using a ladder stitch or mattress stitch. Weave in all loose ends securely with your yarn needle.
- Optional Pebbles: For an extra natural look, you can knit a few small, flat circles in a contrasting color and sew them onto the stones or scatter them around your display.
And there you have it! Your own set of beautiful, handcrafted Mossy Stone Spa Stones. They make wonderful gifts, thoughtful decor, and a lovely, calming fidget for your hands. Enjoy the process and the peaceful touch they bring to your space.


