Mossy Glen Baby Booties Free Crochet Pattern – Textured Forest Floor Footwear
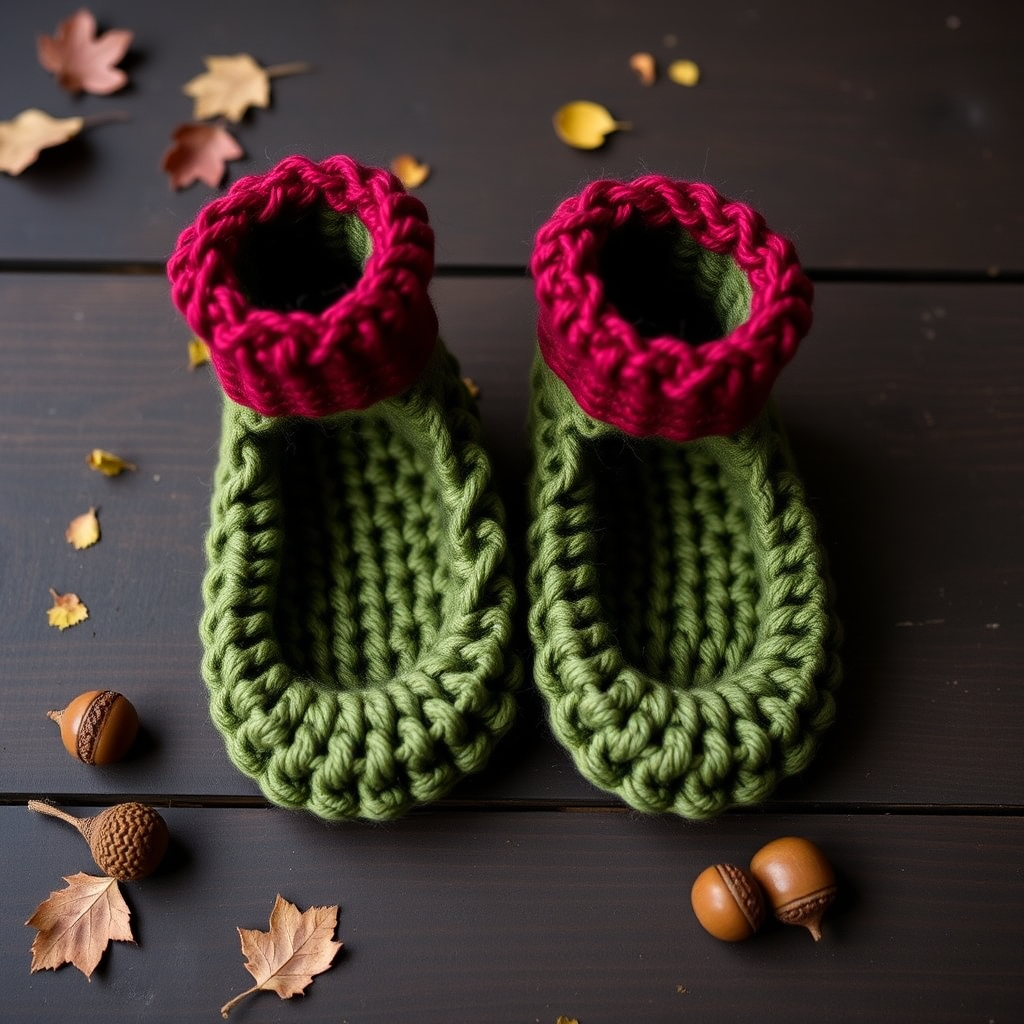
Mossy Glen Baby Booties Free Crochet Pattern – Textured Forest Floor Footwear
Wrap tiny toes in the softest woodland charm with these crochet booties, featuring a rich moss-and-berry color palette and a cozy, nubby texture. Perfect for autumn babies and nature-loving parents, this pattern is a joy to make and gift. Whether you're a seasoned crocheter or just starting your handmade journey, these booties are beginner-friendly and work up quickly, making them an ideal baby shower gift or a heartfelt present for your own little one.
In this comprehensive guide, we'll walk you through every step, from gathering your materials to the final finishing touches. By the end, you'll have a pair of adorable, handcrafted booties that look like they belong on a forest floor—soft, textured, and full of rustic charm.
Materials Needed
Before you begin, gather the following supplies. Having everything ready will make your crocheting experience smooth and enjoyable.
- Yarn: Worsted weight (Category 4) cotton or acrylic blend. You'll need approximately 100g in Moss Green (MC) and 50g in Berry Red (CC). A cotton blend is great for breathability, while acrylic offers easy care—choose what suits your preference.
- Crochet Hook: US G/6 (4.0 mm) crochet hook. This size is perfect for worsted weight yarn and will help you achieve the correct gauge.
- Gauge: 4 sc x 4 rows = 1 inch (2.5 cm) in single crochet. Always check your gauge to ensure the booties fit as intended. If your gauge is off, adjust your hook size accordingly.
- Other Tools: A tapestry needle for sewing pieces together and weaving in ends, a pair of scissors, and a stitch marker (optional but helpful).
Step-by-Step Instructions
Follow these detailed instructions carefully. We'll break down each part of the bootie, from the sole to the cuff, and then guide you through assembly. Take your time, and don't hesitate to refer back to the steps as needed.
Sole (Make 2)
The sole forms the base of the bootie. It's worked in rows, creating a flat, oval shape that will cradle your baby's foot.
- Round 1: Chain 8. Single crochet (sc) in the 2nd chain from the hook and in the next 5 chains. You should have 6 sc on this side. In the last chain, work 3 sc (this creates the rounded toe). Now, working on the other side of the chain, sc in the next 5 chains, then work 2 sc in the last chain. (Total: 16 sc)
- Round 2: Work 2 sc in the first stitch (increase), sc in the next 5 stitches, 2 sc in each of the next 3 stitches (increase), sc in the next 5 stitches, and 2 sc in each of the last 2 stitches. (Total: 22 sc)
- Round 3: *Work 2 sc in the first stitch, sc in the next 6 stitches*. Repeat from * to * 3 times total. Then, work 2 sc in the last stitch. (Total: 28 sc)
- Fasten off and weave in the ends. Set the sole aside. Repeat to make a second sole.
Upper (Make 2)
The upper part covers the top of the foot and gives the bootie its shape. It's worked back and forth in rows.
- Foundation: With your Moss Green (MC) yarn, chain 9.
- Row 1: Sc in the 2nd chain from the hook and in the next 7 chains. (8 sc)
- Rows 2-6: Chain 1, turn. Sc in each stitch across. (8 sc) Repeat this for a total of 5 rows (Rows 2 through 6).
- Row 7: Chain 1, turn. Sc2tog (single crochet two together) over the first two stitches, sc in the next 4 stitches, sc2tog over the last two stitches. (6 sc)
- Row 8: Chain 1, turn. Sc2tog over the first two stitches, sc in the next 2 stitches, sc2tog over the last two stitches. (4 sc)
- Fasten off, leaving a long tail (about 12 inches) for sewing. Repeat to make a second upper piece.
Cuff (Make 2)
The cuff is the decorative band that wraps around the ankle. It uses your contrasting Berry Red (CC) yarn for a pop of color.
- Foundation: With your Berry Red (CC) yarn, chain 12.
- Row 1: Sc in the 2nd chain from the hook and in the next 10 chains. (11 sc)
- Rows 2-4: Chain 1, turn. Sc in each stitch across. (11 sc) Repeat for a total of 3 rows (Rows 2 through 4).
- Fasten off, leaving a long tail for sewing. Repeat to make a second cuff.
Assembly
Now it's time to bring all the pieces together. This is where your bootie starts to take shape.
- Sew the Upper to the Sole: With your Moss Green (MC) yarn and a tapestry needle, place the upper piece on top of the sole. Match the straight edge of the upper to the straight edge of the sole (the heel area). Use a whip stitch to sew them together, placing your stitches evenly. Make sure the upper is centered and the bootie looks symmetrical.
- Create the Cuff Ring: Fold the cuff in half lengthwise so the short ends meet. Sew the short ends together using a whip stitch to form a ring.
- Attach the Cuff: Slide the cuff ring over the top of the bootie, with the seam positioned at the back (heel). Sew the cuff to the upper using a whip stitch. Ensure the cuff covers the top edge of the upper completely, creating a snug, finished look around the ankle.
- Weave in All Ends: Use your tapestry needle to weave in any remaining yarn tails securely. Trim any excess yarn.
Finishing Touches
Your booties are almost complete! Here's how to add a little extra charm.
- Optional Pom-Pom: For a delightful finishing touch, create a small pom-pom using your Berry Red (CC) yarn. Attach it to the front of each bootie, just above the toe area, using a needle and thread or a small piece of yarn. This adds a playful, whimsical element that babies and parents will adore.
- Final Inspection: Check your booties for any loose stitches or ends. Give them a gentle shape and fluff. They're ready to be gifted or used!
And there you have it—a beautiful pair of Mossy Glen Baby Booties! These booties are not only functional but also a lovely keepsake. The textured single crochet stitches give them a rustic, handcrafted feel, while the moss green and berry red colors evoke the beauty of a forest floor in autumn.
We hope you enjoyed this pattern. Happy crocheting, and don't forget to share your creations with fellow crafters!


