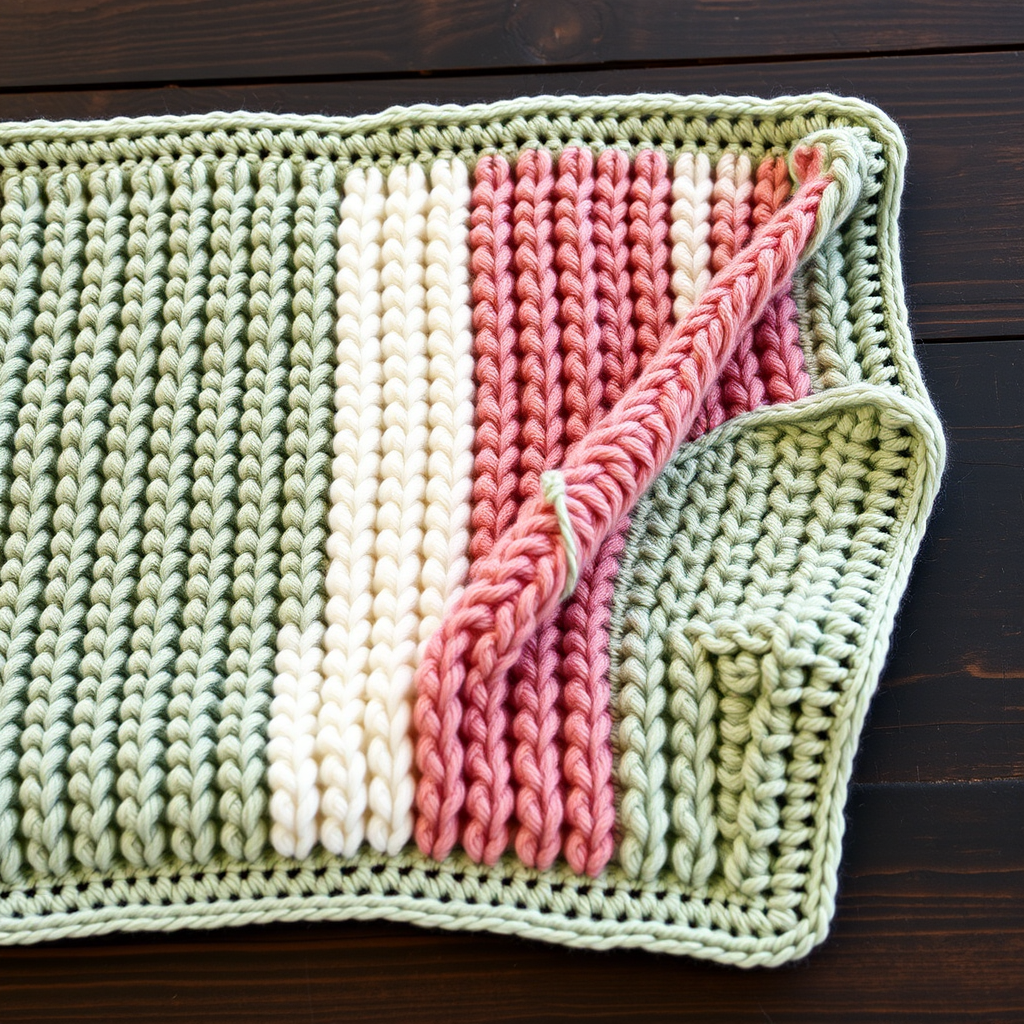
Moonlit Slumber Waves Baby Blanket Free Pattern

Moonlit Slumber Waves Baby Blanket: A Free Crochet Pattern for Dreamy Nurseries
There's something truly magical about wrapping a newborn in a blanket made with your own hands. The gentle, rhythmic motion of the waves in this pattern mirrors the soothing lullabies you'll sing at 2 a.m. This modern take on the classic ripple blanket is designed with dreamy twilight hues—soft lavender, dusty blue, and cream—that create a calming, serene atmosphere perfect for any nursery. Whether you're a seasoned crocheter or picking up a hook for the first time, this free pattern is your gateway to creating an heirloom-quality piece that will be treasured for generations. The repetitive, meditative rows make it an ideal weekend project, and the result is a stunning, textured blanket that looks like it came straight from a boutique.
This pattern is thoughtfully designed to be accessible for beginners while still offering a satisfying challenge. The ripple effect is achieved through simple increases and decreases, and the back-loop-only technique adds a beautiful, ridged texture that elevates the design. Let's dive into creating this cozy masterpiece together.
Materials Needed: Gathering Your Supplies
Before you begin, ensure you have all the necessary materials. Using the correct yarn weight and hook size is crucial for achieving the proper gauge and the soft, drapey feel of the blanket.
- Yarn: Worsted weight yarn in 3 colors. A great choice is a soft, washable acrylic or a cotton blend for easy care.
- Color A (Soft Lavender): 400 grams (approx. 800-900 yards)
- Color B (Dusty Blue): 350 grams (approx. 700-800 yards)
- Color C (Cream): 300 grams (approx. 600-700 yards)
- Crochet Hook: 6.5 mm (K/10.5) hook. This larger hook creates a lovely, drapey fabric that's perfect for a baby blanket.
- Other Tools: Yarn needle for weaving in ends, scissors, and a tape measure to check your gauge.
Gauge: 11 double crochet (dc) = 4 inches (10 cm) and 6 rows = 4 inches (10 cm). It's always worth taking a few minutes to make a gauge swatch. This ensures your blanket will be the correct size and have the right drape.
Step-by-Step Instructions: Creating Your Ripple Waves
This pattern is worked in rows, and the ripple effect is created by a repeating sequence of increases (3 dc in one stitch) and decreases (skipping 2 stitches). The key to the beautiful ridged texture is working in the back loop only for the majority of the rows. Let's get started!
Pattern Notes:
- The starting chain count is a multiple of 12 + 2.
- The turning chain (ch 3) at the beginning of each row counts as your first double crochet.
- Always work in the back loop only (BLO) unless otherwise stated.
Foundation & First Stripe (Color A - Lavender)
Foundation Row: With Color A, make a slip knot and chain 122.
Row 1: Dc in the 4th ch from the hook (the skipped chains count as your first dc). Dc in the next 4 ch. Now, make your first increase: work 3 dc in the very next ch. Dc in the next 5 ch. Now, make your first decrease: skip the next 2 ch. *Dc in the next 5 ch, 3 dc in the next ch, dc in the next 5 ch, skip the next 2 ch. Repeat from * across the row, ending with dc in the last 5 ch. Turn. (You should have 120 dc).
Row 2: Ch 3 (counts as your first dc). Dc in the next 4 dc. Work 3 dc in the next dc (the center of the increase from the row below). Dc in the next 5 dc. Skip the next 2 dc. *Dc in the next 5 dc, 3 dc in the next dc, dc in the next 5 dc, skip the next 2 dc. Repeat from * across, ending with dc in the last 5 dc. Turn.
Rows 3-6: Repeat Row 2, but this time, work in the back loop only for each stitch. This will create the ridged texture. At the end of Row 6, fasten off Color A and weave in the end.
Second Stripe (Color B - Dusty Blue)
Row 7: Join Color B with a slip stitch in the first dc of the row. Ch 3 (counts as first dc). Now, repeat the Row 2 pattern, working in the back loop only for all stitches.
Rows 8-12: Repeat Row 7. At the end of Row 12, fasten off Color B and weave in the end.
Third Stripe (Color C - Cream)
Row 13: Join Color C with a slip stitch in the first dc. Ch 3. Repeat the Row 2 pattern, working in the back loop only.
Rows 14-18: Repeat Row 13. At the end of Row 18, fasten off Color C and weave in the end.
Fourth Stripe (Color B - Dusty Blue)
Rows 19-24: Join Color B again. Repeat the Row 2 pattern in the back loop only for these 6 rows. Fasten off and weave in the end.
Final Stripe (Color A - Soft Lavender)
Rows 25-30: Join Color A for the final time. Repeat the Row 2 pattern in the back loop only for these last 6 rows. Fasten off and weave in the end.
Finishing Touches: The Border
The border is a simple, clean finish that pulls the whole blanket together.
Border Round: Join Color C with a slip stitch in any corner of the blanket. Ch 1 (does not count as a stitch). Work a round of single crochet (sc) evenly around the entire blanket. In each corner, work 3 sc in the same corner stitch to ensure the corners lay flat and turn nicely. When you reach the starting corner, join with a slip stitch to the first sc. Fasten off and weave in all remaining ends.
Your Moonlit Slumber Waves Baby Blanket is complete! Lay it flat to block it gently if desired, and it's ready to be gifted or used in your own nursery. The combination of the soothing colors and the tactile ripple texture makes this a truly special piece. Happy crocheting!