Moonlit Cloud Crochet Baby Blanket Free Pattern

Moonlit Cloud Crochet Baby Blanket: A Free Pattern for a Dreamy, Plush Nursery Essential
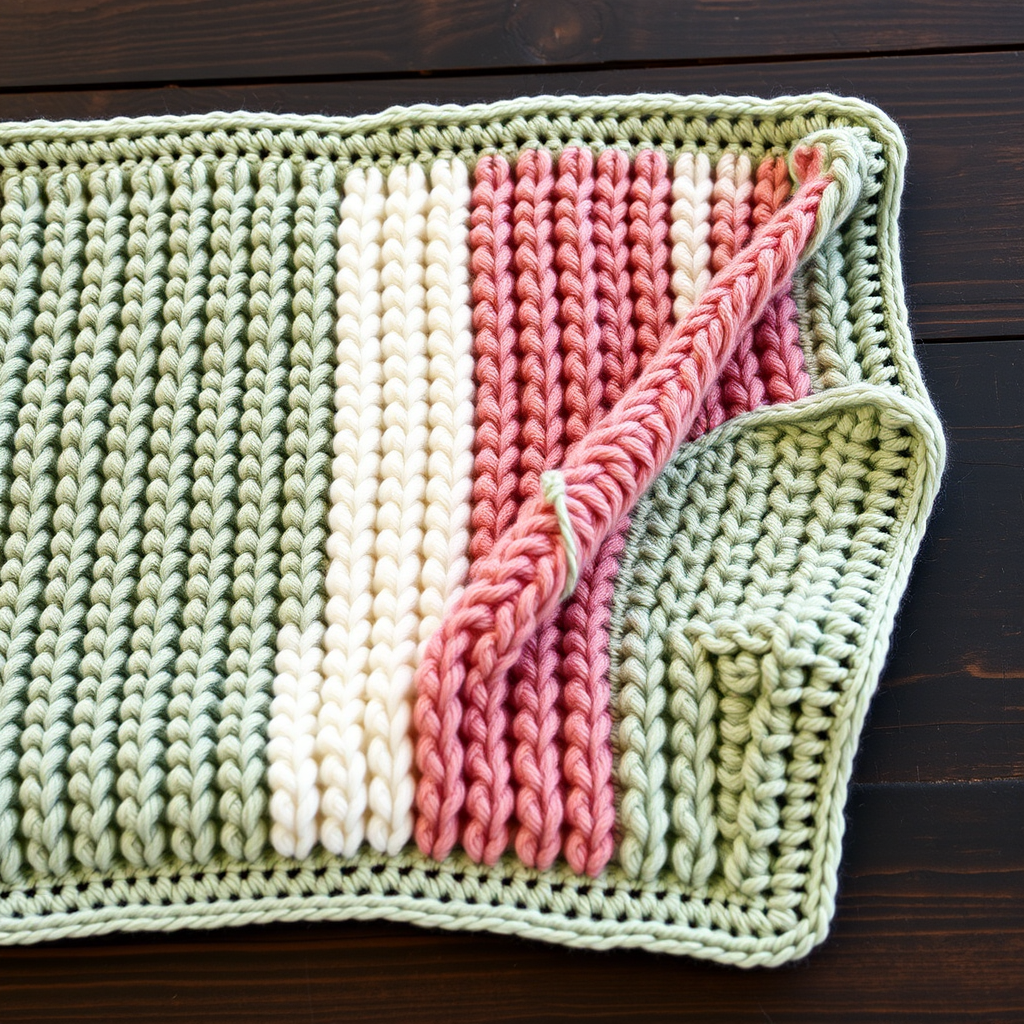
There is nothing quite like wrapping a newborn in a blanket that feels as soft as a cloud and looks as serene as a moonlit sky. The Moonlit Cloud Crochet Baby Blanket is designed to be that perfect heirloom piece—a chunky, textured haven that combines the plushness of velvet yarn with a simple, rhythmic stitch pattern. Whether you are a seasoned maker or picking up a hook for the first time, this free pattern is your gateway to creating a stunning, handmade gift that will be treasured for years. With its gentle gradient of pastel pink and white stripes, this blanket isn't just a practical item; it's a piece of nursery decor that adds warmth and charm to any room.
This pattern is specifically engineered for beginners. We break down every step, from the foundation chain to the final border, ensuring you can recreate this exact cloud-like texture without any guesswork. Let’s dive into the materials and get started on this cozy project.
Materials Needed
Before you begin, gather your supplies. Using the correct materials is crucial for achieving the soft, bulky drape that makes this blanket so special.
- Yarn: Bernat Baby Velvet (or any bulky weight velvet yarn) in 'Soft Pink' (Color A) and 'White' (Color B). You will need 3 skeins of each color.
- Crochet Hook: K/10.5 (6.5 mm) hook. This larger hook size is essential for keeping the velvet yarn loose and airy, preventing it from becoming stiff.
- Other Tools: Yarn needle for weaving in ends, scissors, and a stitch marker (optional, but helpful for counting rows).
Gauge: 10 stitches x 12 rows = 4 inches in single crochet. Always check your gauge to ensure your blanket matches the intended dimensions (approx. 40" x 30").
Step-by-Step Instructions
This pattern is worked in rows using a simple two-row repeat. The magic lies in the Front Post Double Crochet (FPdc), which creates the raised, puffy "cloud" texture against the flat single crochet background. We will alternate colors every 4 rows to create the soft stripes.
Getting Started: The Foundation
Foundation Chain: With Color A (Soft Pink), loosely chain 101 stitches. Tip: Chain loosely to prevent the bottom edge from curling.
Row 1: Base Row
Single crochet (sc) in the 2nd chain from your hook and in each chain across. Turn. (You should have 100 sc stitches).
Row 2: Creating the Cloud Texture
Chain 1 (counts as first sc). Single crochet in the first stitch. *Front Post Double Crochet (FPdc) around the next stitch, single crochet in the next stitch.* Repeat from * to * across the row. Turn. (You will have 50 FPdc and 50 sc).
How to FPdc: Yarn over, insert your hook from front to back to front around the post of the designated stitch (not through the top loops), yarn over and pull up a loop, complete the double crochet as usual.
Row 3: Smoothing Row
Chain 1. Single crochet in each stitch across. Turn. (100 sc).
Row 4: Repeat Texture
Repeat Row 2 exactly. At the end of this row, you will switch to Color B (White). Color Change: When completing the last stitch of Row 4, pull through the new Color B yarn to finish the stitch. Do not cut Color A; carry it up the side or cut and weave in later (carrying is easier for stripes).
Rows 5-8: Stripe Pattern with Color B
Repeat Rows 3 and 2 twice more (Row 5: sc across, Row 6: texture row, Row 7: sc across, Row 8: texture row). At the end of Row 8, switch back to Color A.
Continuing the Pattern: Alternating Colors
You will now continue this exact sequence—4 rows of Color A, 4 rows of Color B—until you have completed a total of 100 rows. Here is the full color roadmap to follow:
- Rows 1-4: Color A (Foundation + Texture)
- Rows 5-8: Color B
- Rows 9-12: Color A
- Rows 13-16: Color B
- Rows 17-20: Color A
- Rows 21-24: Color B
- Rows 25-28: Color A
- Rows 29-32: Color B
- Rows 33-36: Color A
- Rows 37-40: Color B
- Rows 41-44: Color A
- Rows 45-48: Color B
- Rows 49-52: Color A
- Rows 53-56: Color B
- Rows 57-60: Color A
- Rows 61-64: Color B
- Rows 65-68: Color A
- Rows 69-72: Color B
- Rows 73-76: Color A
- Rows 77-80: Color B
- Rows 81-84: Color A
- Rows 85-88: Color B
- Rows 89-92: Color A
- Rows 93-96: Color B
- Rows 97-100: Color A
Pro Tip: Keep your tension consistent. Velvet yarn can be slippery, so take your time with the FPdc stitches to ensure they are uniform in height.
Finishing Touches: The Border
Once you have completed Row 100, do not fasten off. We will add a clean, polished border to frame your work.
Round 1: With Color A still attached, chain 1. Work a round of single crochet evenly around the entire blanket. In each corner, work 3 single crochet into the same corner stitch to turn the corner smoothly. Continue around all four sides.
Round 2: Work a round of Reverse Single Crochet (Crab Stitch) for a finished, slightly textured edge. To do this, work single crochet stitches from left to right (instead of right to left). This creates a beautiful, twisted rope-like border.
Fasten Off: Cut your yarn, leaving a 6-inch tail. Pull the tail through the last loop and weave in all ends securely using your yarn needle. Give your blanket a gentle block (if needed) to even out the stitches.
And there you have it—a stunning, cloud-soft baby blanket that looks like it was plucked straight from a dream. The combination of the plush velvet and the textured FPdc stitches makes this a sensory delight for babies and a beautiful accent for any nursery. Enjoy your handmade creation, and don't be surprised if you find yourself making a second one for a friend!