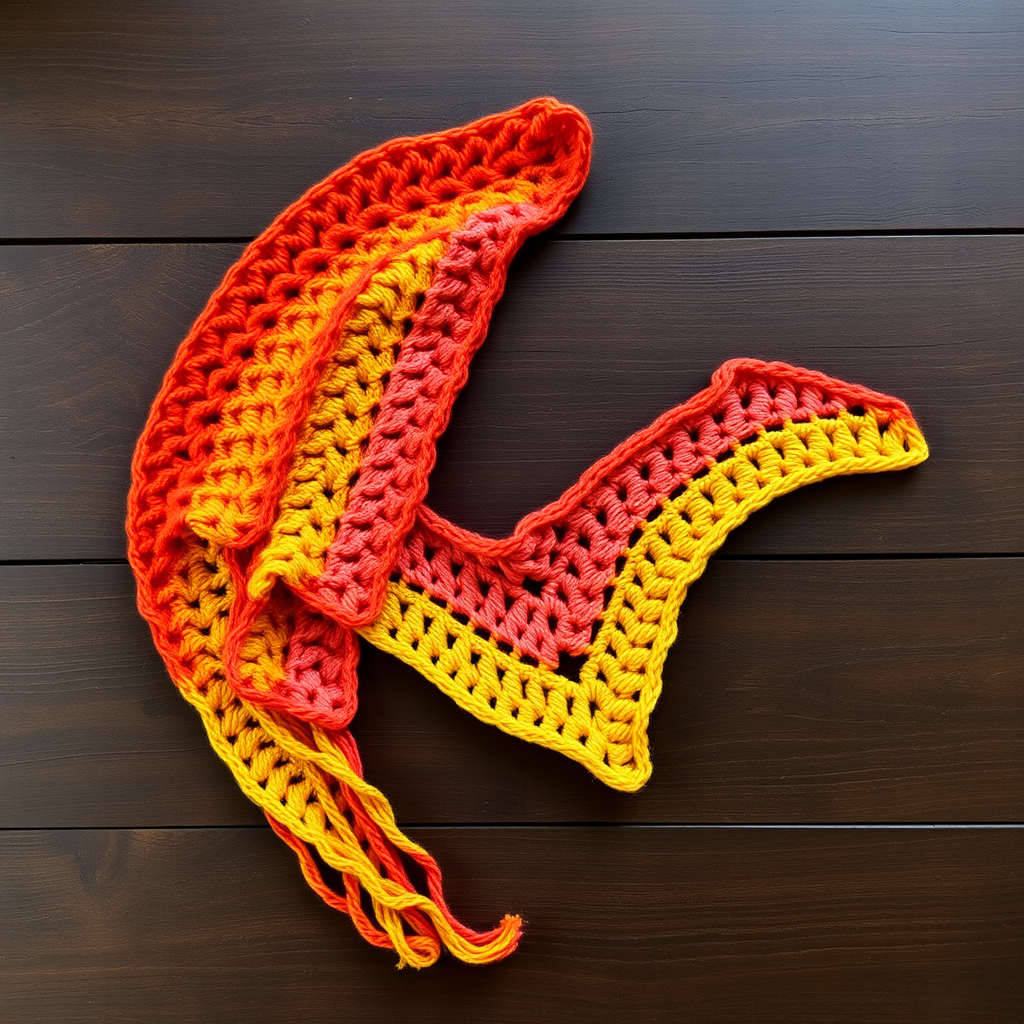
Kelpline Drape Triangle Free Pattern: A Grunge Shell-Stitch Crochet Shawl

Kelpline Drape Triangle: A Grunge Shell-Stitch Crochet Shawl
If you have ever wanted to wrap yourself in something that feels like the sea at dusk, this is the shawl for you. The Kelpline Drape Triangle is a deep, top-down triangular shawl worked in tall shell stitch, with mottled ocean blues broken by one sharp column of pale sand shells running straight down the center. It is built for experienced hands and a heavy, salt-worn drape, and it is perfect for anyone who loves a project that grows steadily row by row into something dramatic. The finished piece measures about 60 inches across the top edge and 30 inches deep at the center point, and it falls in deep, soft folds with small eyelets opening between the shells. It is a generous, moody, wearable piece of lace that feels like a favorite blanket with a little more attitude.
Materials Needed
- Yarn: Worsted weight (CYC #4) cotton, approximately 875 yd / 800 m total.
- Main color (MC): mottled ocean-blue worsted cotton, approx. 760 yd / 695 m.
- Contrast color (CC): pale sand worsted cotton, approx. 115 yd / 105 m.
- Hook: Size H-8 (5.0 mm) crochet hook, or the size needed to match gauge.
- Stitch markers: at least 4, to mark the spine and the outer edges.
- Tapestry needle: a blunt-tipped needle with a large eye, for weaving in ends.
- Scissors: sharp, for cutting yarn cleanly.
- Blocking supplies: a blocking mat, rust-proof pins, a towel, and cool water.
- Finished size: approx. 60 in / 152 cm wingspan across the top edge, 30 in / 76 cm deep at the center point.
Abbreviations and Beginner Glossary
Every abbreviation used in this pattern is listed here. If you have never crocheted before, read this section twice before you begin.
- ch – chain. Make a loop of yarn on your hook, wrap the yarn over the hook, and pull it through the loop. That is one chain. Chains form the foundation and the little gaps between shells.
- sc – single crochet. Insert your hook into the stitch, wrap the yarn over the hook, pull up a loop (you now have 2 loops on the hook), wrap the yarn over again, and pull it through both loops. One loop remains.
- dc – double crochet. Wrap the yarn over the hook, insert the hook into the stitch, wrap the yarn over, pull up a loop (3 loops on the hook), wrap the yarn over and pull through 2 loops, wrap the yarn over and pull through the last 2 loops. One loop remains.
- sl st – slip stitch. Insert your hook into the stitch, wrap the yarn over, and pull it straight through both the stitch and the loop on your hook. It joins things together without adding height.
- shell – 5 double crochet worked into the same stitch or space. This is the repeating motif that gives the shawl its lacy texture.
- sp – space. The small gap created by a chain. When a pattern says "ch-1 sp," it means the gap under a single chain from the row below.
- RS – right side. The side of the fabric that faces out when you wear the shawl.
- WS – wrong side. The back of the fabric.
- turning ch – the chain or chains you make at the start of a row to bring your yarn up to the height of the new row. Here it is ch 3, and it counts as the first double crochet.
- MC – main color (the ocean blue).
- CC – contrast color (the pale sand).
- rep – repeat. Do the instruction again.
- fasten off – cut the yarn a few inches from the work and pull the tail through the last loop to lock it.
Gauge
Gauge: 1 shell (5 dc) + 1 ch-1 space = 2 in / 5 cm wide; 4 rows = 2 in / 5 cm tall in shell pattern, blocked.
Gauge matters because it is how you know your shawl will come out the size written here. If your shells are wider than 2 inches, your shawl will be bigger than 60 inches; if they are narrower, it will be smaller. To check, crochet a small swatch: chain 20, then work a few rows of shells and chain spaces following the pattern. Measure across one shell plus one chain space, and measure how tall 4 rows are. If your swatch is too big, try a smaller hook; if it is too small, try a larger hook. Always measure after blocking, because cotton relaxes and opens up when it gets wet.
Beginner Tips Before You Start
- Use stitch markers to track the spine. Place a marker in the center spine shell on every row so you never lose the middle. Place two more markers at the outer edges to keep your increases even.
- Do not pull your yarn too tight. Tension is everything in shell lace. If your chains are tight, the eyelets close up and the drape goes stiff. Keep your loops relaxed and even.
- Count your shells at the end of every row. Each row adds one shell on each side of the spine, so the count should grow by two every row. Catching a mistake early saves a lot of unraveling.
- Carry the contrast color loosely. When you switch to the sand color for the spine, carry the unused yarn up the wrong side without pulling it tight, or the shawl will pucker along the center.
- Trust the blocking. The shawl will look small and crumpled before it is blocked. That is normal. The shell lace opens up completely once it is soaked and pinned.
- Work in good light. The mottled blue yarn hides stitch definition, so bright light makes it much easier to see where each shell belongs.
Step-by-Step Instructions
Pattern Notes
The shawl is worked top-down from the center of the neck edge, increasing at both outer edges and at the center spine on every row. This produces a deep isosceles triangle. The center spine is a single vertical column of shells worked in CC (pale sand); every other shell is MC (mottled ocean blue). Each row begins with a turning chain of 3 (counts as first dc) and ends with a dc in the final stitch. Shells are separated by ch-1 spaces. The spine shell sits in its own ch-1 space and is never shared with a neighboring shell. Blocking is essential to open the shell lace and set the drape.
Setup
With MC, ch 6. Join with sl st to form a ring.
Body
Row 1 (RS): Ch 3 (counts as first dc), work 4 dc into the ring (first shell made), ch 1, work 5 dc into the ring (spine shell), ch 1, work 5 dc into the ring (last shell), dc into the ring. Turn. (3 shells, 2 ch-1 sps, 2 edge dc)
Row 2: Ch 3, 4 dc in the first dc (edge shell), ch 1, 5 dc in the next ch-1 sp, ch 1, 5 dc in the next ch-1 sp (spine shell), ch 1, 5 dc in the next ch-1 sp, ch 1, 4 dc in the top of the turning ch, dc in the same ch. Turn. (5 shells, 4 ch-1 sps)
Row 3: Ch 3, 4 dc in the first dc, ch 1, *5 dc in the next ch-1 sp, ch 1; rep from * to the spine ch-1 sp, 5 dc in the spine ch-1 sp, ch 1, *5 dc in the next ch-1 sp, ch 1; rep from * to the last ch-1 sp, 4 dc in the top of the turning ch, dc in the same ch. Turn. (7 shells, 6 ch-1 sps)
Row 4 and all following increase rows: Work exactly as Row 3, adding one shell on each side of the spine on every row. The spine shell is always the single shell centered between the two ch-1 spaces that flank it. Continue until the shawl measures approx. 28 in / 71 cm deep at the center point, ending after a WS row. (Approx. 56 rows total, 59 shells across the final row.)
Color Change for the Spine
- Work Rows 1–3 entirely in MC.
- From Row 4 onward, work the spine shell (the single shell centered on the shawl) in CC. Carry the CC up the wrong side of the work, twisting it around the MC at the start of each row to avoid a gap. Do not cut the CC until the final row.
- All other shells and all edge dc remain in MC.
Final Row
Final Row (WS): Ch 1, sc in each dc and in each ch-1 sp across, working 3 sc in the center spine shell to keep the point sharp. Fasten off MC and CC.
Edging
Worked along the two diagonal sides only. With MC, join at the top right corner. Ch 1, work sc evenly along the diagonal edge to the center point, 3 sc in the center point, sc evenly up the left diagonal edge to the top left corner. Fasten off. Weave in all ends.
Assembly and Finishing
There is no seaming in this shawl, because it is worked in one piece from the neck edge down. Finishing is all about the ends and the block.
- Weaving in ends: Thread each yarn tail onto the tapestry needle and run it through the back of several stitches, changing direction once so it cannot work loose. Trim the tail close to the fabric. Do this for the MC and CC tails at the start, the color-change joins, and the fasten-off points.
- Blocking: Soak the shawl in cool water for 20 minutes. Gently squeeze out the water without wringing, then roll it in a towel and press to remove the excess. Lay it on a blocking mat and pin out to the finished measurements: 60 in wingspan across the top edge and 30 in depth at the center point. Pin the center point sharply and pin the two diagonal edges straight. Allow it to dry completely before removing the pins. The shell lace will open and the cotton will relax into a heavy, salt-worn drape.
Pro Tips and Variations
- Change the colors: Swap the ocean blue for charcoal or deep plum, and the pale sand for cream or rust. The single contrasting spine column is what makes this shawl, so keep that contrast strong.
- Adjust the size: Because every row adds one shell on each side of the spine, you can stop early for a smaller shawlette or keep going for a larger wrap. Just remember that each extra row adds about 2 inches of depth and roughly 4 inches of wingspan.
- Substitute the yarn: A worsted-weight cotton-linen blend will give an even crisper, more rustic drape, while a soft cotton-merino blend will feel warmer and more fluid. Match the worsted weight and check your gauge again.
- Add a border: For a more finished edge, work a second round of sc along the diagonal edges, or work a simple picot every few stitches for a little salt-spray texture.