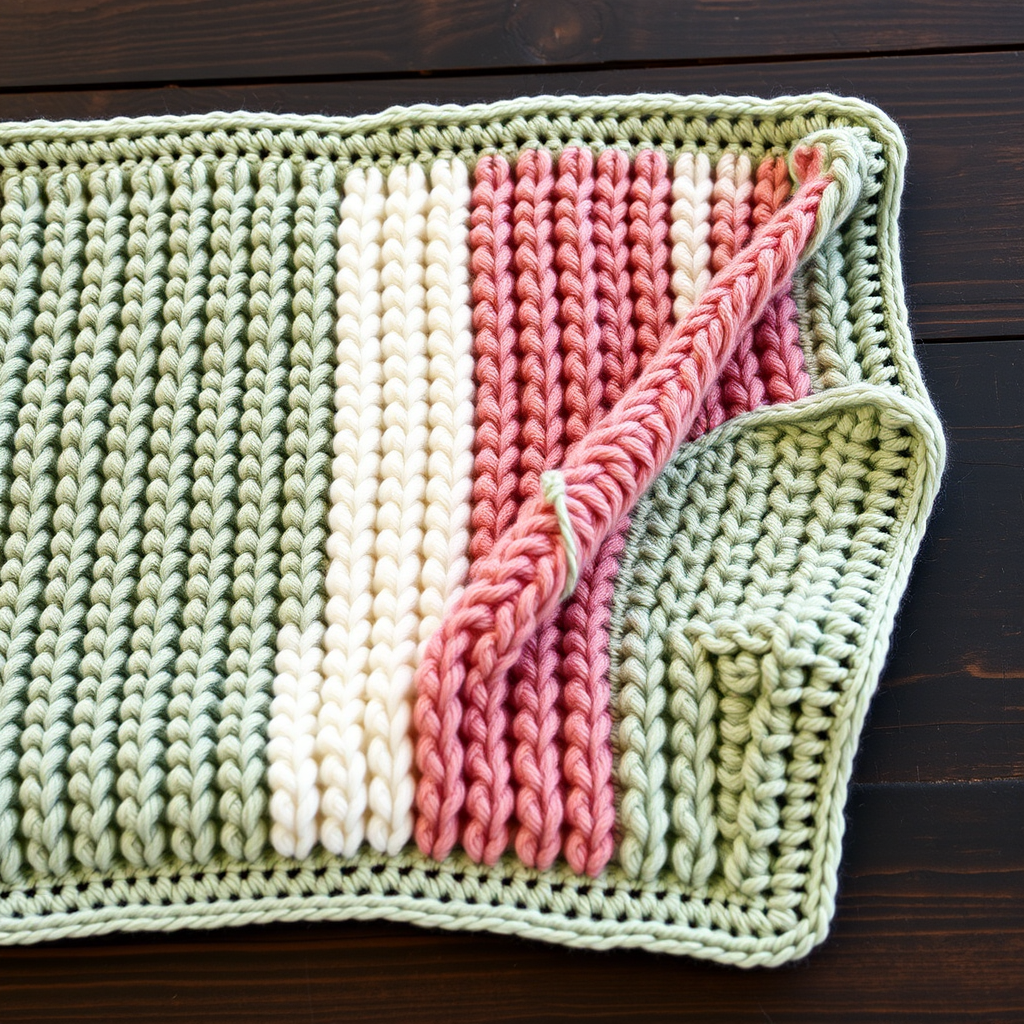
Golden Trellis Crochet Baby Blanket Free Pattern – Heirloom Lattice Stitch Throw

Introducing the Golden Trellis Crochet Baby Blanket
There is something truly magical about creating an heirloom piece with your own two hands. The Golden Trellis Crochet Baby Blanket is exactly that—a stunning, timeless treasure designed to wrap your little one in warmth and beauty. This free pattern features a breathtaking lattice stitch that combines delicate openwork with plush, cozy texture, creating a dimensional surface that catches the light and shadows beautifully.
Whether you're crafting this for a new arrival, a baby shower gift, or simply to add a touch of artisanal charm to your nursery decor, this blanket grows with your child—from crib days to cuddle-buddy years. The rich golden yellow yarn evokes sunlit honey, while the cream picot border adds a soft, vintage contrast that elevates the entire piece to heirloom status.
With clear, beginner-friendly instructions and a repeating pattern that becomes meditative once you find your rhythm, this project is as enjoyable to make as it is gorgeous to behold. Let's dive into everything you need to create this beautiful heirloom throw.
Materials Needed
Before you begin, gather the following supplies to ensure a smooth and enjoyable crochet experience:
- Yarn: Worsted weight (Category 4) cotton-blend yarn in golden yellow—approximately 1200–1400 yards. You'll also need a small amount of cream yarn for the border.
- Crochet Hook: 5.5 mm (I-9) crochet hook
- Tapestry Needle: For weaving in ends and finishing
- Scissors: Sharp pair for cutting yarn
Gauge: 14 dc x 8 rows = 4 inches in trellis pattern (after blocking). Taking the time to check your gauge ensures your finished blanket measures approximately 36 inches by 42 inches, just as intended.
Step-by-Step Instructions
Follow these detailed instructions carefully, and you'll have a gorgeous Golden Trellis Baby Blanket in no time. The pattern is a multiple of 6 + 1, so you can easily adjust the size if you'd like a larger or smaller throw.
Foundation Chain
Chain 121 loosely. This foundation chain sets the width of your blanket. If you tend to chain tightly, consider using a slightly larger hook for this step only, then switch to your 5.5 mm hook for the rest of the pattern.
Row 1: Foundation Row
Dc in the 4th chain from your hook (the skipped chains count as your first dc). Dc in each chain across the entire row. You should have 119 dc total. Turn your work.
Row 2: Establishing the Trellis Pattern
Ch 3 (this counts as your first dc). Skip the next 2 dc. Now work the following repeat across the row:
- Dc in the next dc, ch 2, dc in the same dc (this creates a V-stitch)
- Skip the next 2 dc
- Dc in the next dc, ch 1, skip the next 1 dc
- Dc in the next dc, ch 1, skip the next 1 dc
- Dc in the next dc, skip the next 2 dc
Repeat from * to * across the row, ending with a V-stitch in the last dc, skip 2 dc, and dc in the top of the turning chain. Turn your work.
Row 3: Building the Lattice
Ch 3. Now work the following repeat:
- Skip to the next V-stitch and work 3 dc in the ch-2 space of that V-stitch
- Ch 1, skip the next dc
- Dc in the next dc, ch 1, skip the next dc
- Dc in the next dc, ch 1, skip the next dc
- Dc in the next dc, ch 1
Repeat from * to * across the row, ending with 3 dc in the last V-stitch, then dc in the top of the turning chain. Turn your work.
Row 4: Continuing the Trellis
Ch 3. Work the following repeat:
- Skip the next dc, dc in the next dc, ch 2, dc in the same dc (V-stitch made)
- Skip the next 2 dc
- Dc in the next dc, ch 1, skip the next dc
- Dc in the next dc, ch 1, skip the next dc
- Dc in the next dc, skip the next 2 dc
Repeat from * to * across, ending with a V-stitch in the last dc, then dc in the top of the turning chain. Turn your work.
Rows 5–70: Repeating the Pattern
Now that your trellis pattern is established, simply repeat Rows 3 and 4 alternately for the remainder of the blanket. This means:
- Rows 5, 7, 9, 11... (odd rows): Follow Row 3 instructions
- Rows 6, 8, 10, 12... (even rows): Follow Row 4 instructions
Continue this rhythm until you've completed Row 70. As you work, you'll see the beautiful lattice of open diamonds and solid posts emerge. The pattern becomes intuitive quickly, making this a perfect project for relaxing evenings or while watching your favorite show.
Adding the Border
Once your main body is complete, it's time to add the delicate cream border that gives this blanket its vintage charm.
Round 1: With your cream yarn, work 1 round of single crochet (sc) evenly around all four edges of the blanket. Work 3 sc in each corner to ensure the corners lay flat and turn nicely.
Round 2: For the picot edge, work the following repeat around the entire blanket: *sc in the next stitch, ch 3, skip 1 stitch*. Repeat from * to * all the way around. This creates a delicate, scalloped edge that beautifully frames the golden trellis.
Fasten off and weave in all loose ends with your tapestry needle. Take your time with this step—neatly woven ends make your finished piece look professional and polished.
Blocking for Perfection
Blocking is the final secret to achieving that flawless, heirloom-quality finish. Gently wet block your blanket by soaking it in cool water with a mild soap, then carefully pressing out excess water (never wring!). Lay it flat on a clean towel or blocking mat, gently stretching it to the correct dimensions (approximately 36 x 42 inches). Pin the edges if needed to help open up the trellis pattern and even out your stitches. Allow it to dry completely before removing pins.
Blocking truly transforms this piece—the trellis pattern opens up beautifully, the stitches relax into place, and the overall drape becomes soft and luxurious.
Final Thoughts
Your Golden Trellis Crochet Baby Blanket is now complete! This heirloom-quality piece is sure to be treasured for generations. Whether displayed draped over a wooden crib rail, folded neatly on a soft white surface, or wrapped around a sleepy little one, this blanket radiates warmth, love, and artisanal craftsmanship.
The beauty of this pattern is its versatility—once you master the trellis stitch, you can easily adapt it for throws, shawls, or even scarves by adjusting your foundation chain. The golden hue is timeless, but don't hesitate to experiment with other colors to match your nursery decor or personal style.
Happy crocheting, and enjoy creating this beautiful heirloom for the special little one in your life!