Frosted Briar Rose Fingerless Gloves Free Pattern
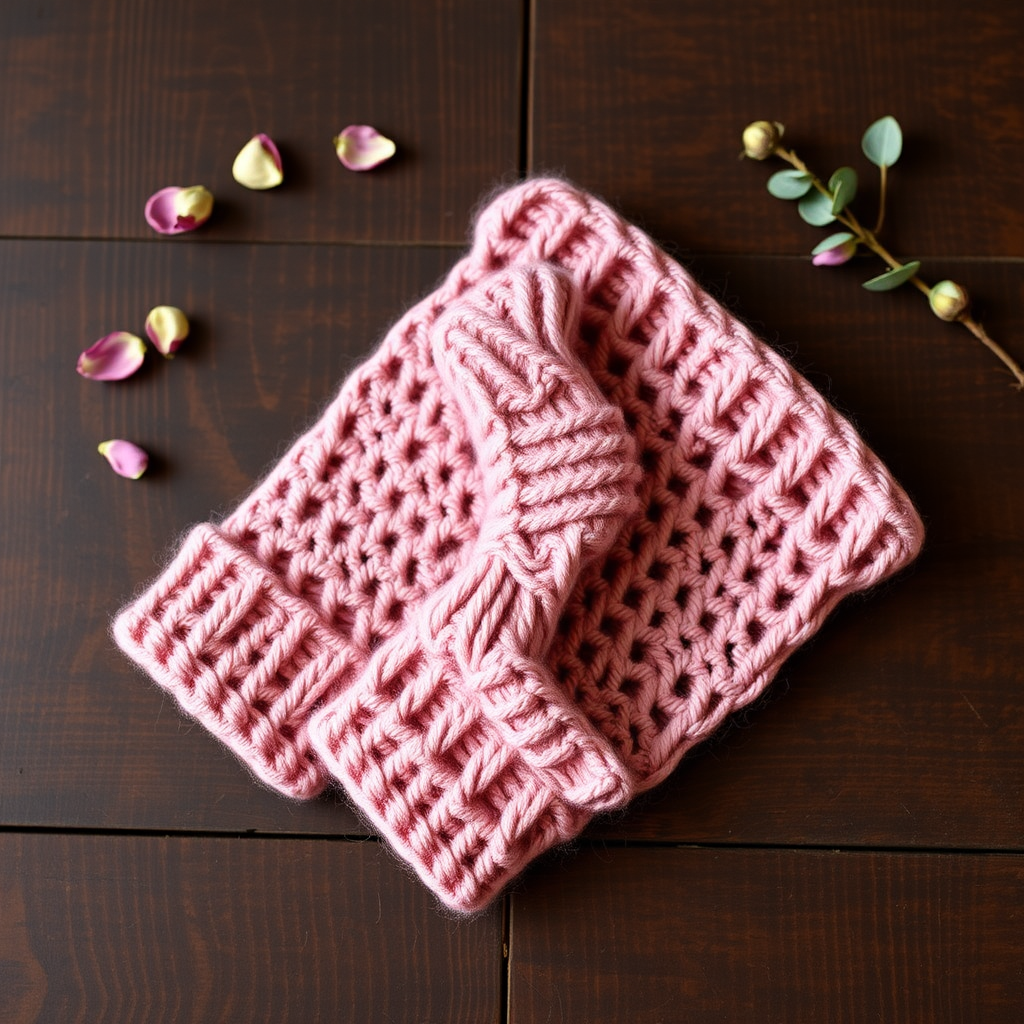
Wrap Your Hands in Garden Charm: The Frosted Briar Rose Fingerless Gloves
There's something magical about a pair of hand-knit fingerless gloves—they keep your hands warm while leaving your fingers free for everything from sipping a latte to scrolling through your phone. The Frosted Briar Rose Fingerless Gloves take this everyday accessory to the next level with a stunning briar stitch that mimics the delicate, climbing vines of a rose garden. The textured lattice effect is both elegant and cozy, making these gloves perfect for chilly mornings, farmers market strolls, or curling up with a good book. Best of all, this free knitting pattern is beginner-friendly and works up quickly in worsted weight yarn. Let's dive in and create something beautiful!
Materials Needed
Before you begin, gather these simple supplies:
- Yarn: Worsted weight yarn (Category 4) in a soft rose pink or dusty mauve—approximately 150-180 yards. A wool blend or soft acrylic works beautifully.
- Needles: US Size 7 (4.5 mm) knitting needles (or size needed to obtain gauge), plus a tapestry needle for weaving in ends.
- Stitch holders: Two stitch holders or scrap yarn for holding thumb stitches.
- Stitch markers: 2-4 markers to track your thumb gusset increases.
Gauge: 20 stitches and 26 rows = 4 inches in stockinette stitch (knit one row, purl one row). Always swatch first to ensure a perfect fit!
Step-by-Step Instructions
Sizes & Abbreviations
Sizes: Small/Medium (Medium/Large) – instructions for larger size are in parentheses.
Abbreviations:
- CO: cast on
- K: knit
- P: purl
- K2tog: knit two stitches together (right-leaning decrease)
- SSK: slip, slip, knit (left-leaning decrease)
- YO: yarn over
- PM: place marker
- RM: remove marker
- St(s): stitch(es)
- M1: make one (increase by knitting into the front and back of the next stitch)
Pattern Notes
- The gloves are worked flat in rows, then seamed up the side, leaving an opening for the thumb.
- The briar stitch pattern is a multiple of 4 + 2 stitches.
- Work the right and left gloves as mirror images of each other.
Right Glove
Cast On & Ribbing:
CO 38 (42) sts.
Row 1: K1, P1 across.
Repeat Row 1 for 2 inches (5 cm), ending with a wrong-side row. This creates a neat, stretchy 1x1 ribbed cuff.
Briar Stitch Body:
Row 1 (RS): K2, *YO, K2tog, K2; repeat from * to end.
Row 2 (WS): Purl all sts.
Row 3: K1, *K2tog, YO, K2; repeat from * to last st, K1.
Row 4: Purl all sts.
Repeat Rows 1-4 until piece measures 4.5 (5) inches from cast-on edge, ending with a Row 4. This creates the beautiful, textured briar lattice pattern.
Thumb Gusset (Increase Section):
Next Row (RS): Work in briar pattern across first 18 (20) sts, PM, M1 (increase by knitting into front and back of next st), K1, M1, PM, work remaining sts in pattern. (40 (44) sts)
Continue in pattern, increasing 2 sts inside the markers every 4th row, 3 times total. (46 (50) sts)
Work even in pattern until piece measures 6 (6.5) inches from cast-on edge, ending with a wrong-side row.
Separate Thumb:
Next Row (RS): Work across first 20 (22) sts in pattern, place next 8 (10) sts on a stitch holder for thumb, CO 2 sts, work remaining sts in pattern. (40 (44) sts)
Continue in briar pattern for 1.5 (2) inches, ending with a wrong-side row.
Top Ribbing:
Row 1 (RS): K1, P1 across.
Repeat Row 1 for 1 inch (2.5 cm). Bind off loosely in rib. This gives a polished, finished edge at the top of the glove.
Thumb:
Transfer 8 (10) sts from holder to needle. Pick up and knit 2 sts from the CO edge at base of thumb. (10 (12) sts)
Work in K1, P1 rib for 0.5 inch (1 cm). Bind off loosely.
Finishing:
Sew side seam from bottom ribbing up to the thumb opening, then continue sewing from thumb opening to top ribbing. Weave in all ends with your tapestry needle.
Left Glove
Work same as right glove, but place thumb gusset markers after first 18 (20) sts from the opposite side (mirror image). To mirror, work the thumb increases on the other side of the markers. Follow same instructions, but when separating thumb, place the 8 (10) sts at the beginning of the row on the holder, then CO 2 sts and continue. Sew seam as for right glove.
Final Thoughts
Once you've finished both gloves, give them a gentle block by laying them flat and shaping them with your hands. The briar stitch will bloom into its full textured glory, reminiscent of climbing rose vines. These gloves make wonderful gifts for friends, family, or a little treat for yourself. The soft dusty rose color pairs beautifully with neutral winter coats and adds a touch of garden elegance to any outfit. Happy knitting, and may your hands stay cozy and stylish all season long!



