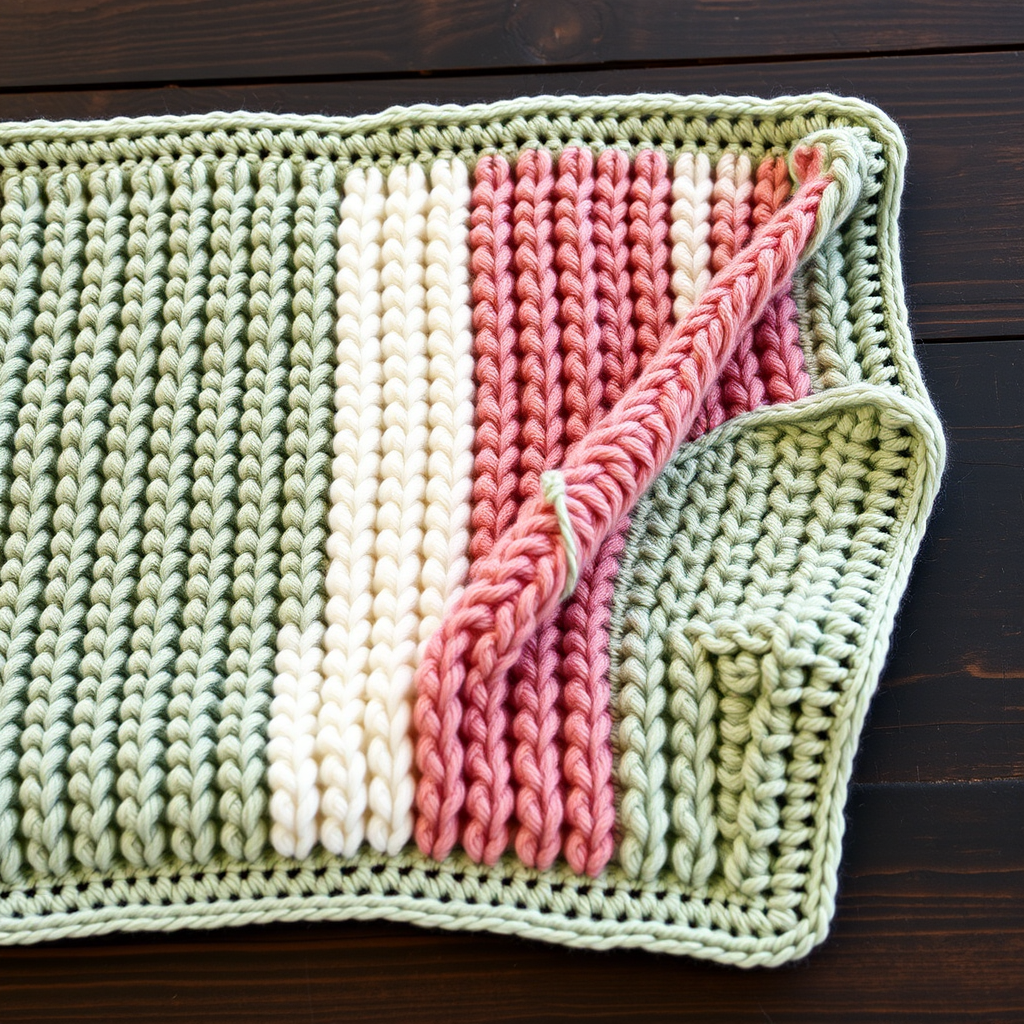
Enchanted Meadow Baby Blanket Free Pattern

Enchanted Meadow Baby Blanket: A Free Crochet Pattern for a Blooming Heirloom
Imagine wrapping your little one in a garden of soft, handcrafted blossoms. The Enchanted Meadow Baby Blanket is more than just a cozy layer—it's a keepsake, a labor of love, and a stunning piece of textile art. Each square is a delicate flower motif that joins together to form a whimsical, textured whole. This beginner-friendly pattern uses basic stitches and simple construction, making it the perfect weekend project for anyone wanting to create a truly special gift. Let's dive into the magic and crochet a meadow of your own.
Materials Needed: Gathering Your Yarn Garden
Before you begin, gather your supplies. The beauty of this pattern lies in its soft, pastel palette, evoking a serene spring morning. Here’s what you'll need:
- Yarn: Worsted weight (4) cotton or cotton-blend yarn in 5 colors:
- Main Color (MC): Soft sage green (approx. 800 yds)
- Color A: Buttery yellow (approx. 200 yds)
- Color B: Blush pink (approx. 200 yds)
- Color C: Lavender (approx. 200 yds)
- Color D: Cream (approx. 300 yds)
- Hook: Size H/8 (5.0 mm) crochet hook
- Notions: Yarn needle for weaving in ends and sewing squares, sharp scissors
Gauge: One completed square measures 6 inches x 6 inches. Gauge is not critical for this project, but maintaining consistent tension will ensure your squares are uniform and easy to join.
Step-by-Step Instructions: Crocheting Your Flower Squares
This blanket is constructed from 20 individual flower squares, arranged in a 4 by 5 grid. Each square is worked in the round, starting from the center and building outward. Follow these detailed instructions to create each motif.
Square Motif (Make 20)
Round 1 (The Center): With Color A (yellow), make a magic ring. Work 12 double crochet (dc) into the ring. Join with a slip stitch (sl st) to the top of the first dc. Fasten off Color A. (12 dc)
Round 2 (First Petal Layer): Join Color B (pink) in any dc. Chain 3 (ch 3, counts as a dc), dc in the same stitch. *Ch 2, skip the next dc, 2 dc in the next dc.* Repeat from * around, ending with ch 2, skip the last dc. Join with a sl st to the top of the ch-3. Fasten off Color B. (12 groups of 2 dc, 12 ch-2 spaces)
Round 3 (Second Petal Layer): Join Color C (lavender) in any ch-2 space. Ch 3 (counts as dc), 2 dc in the same space. *Ch 1, 3 dc in the next ch-2 space.* Repeat from * around, ending with ch 1. Join with a sl st to the top of the ch-3. Fasten off Color C. (12 groups of 3 dc, 12 ch-1 spaces)
Round 4 (Third Petal Layer): Join Color D (cream) in any ch-1 space. Ch 3 (counts as dc), 3 dc in the same space. *Ch 1, 4 dc in the next ch-1 space.* Repeat from * around, ending with ch 1. Join with a sl st to the top of the ch-3. Fasten off Color D. (12 groups of 4 dc, 12 ch-1 spaces)
Round 5 (Background Foundation): Join MC (sage) in any ch-1 space. Ch 3 (counts as dc), 3 dc in the same space. *Ch 2, 4 dc in the next ch-1 space.* Repeat from * around, ending with ch 2. Join with a sl st to the top of the ch-3. (12 groups of 4 dc, 12 ch-2 spaces)
Round 6 (Corner Round - Shaping the Square): Slip stitch into the next 3 dc to reach the ch-2 space. Ch 3 (counts as dc), (2 dc, ch 2, 3 dc) in the same ch-2 space (this creates your first corner). *Ch 1, 3 dc in the next ch-2 space, ch 1, (3 dc, ch 2, 3 dc) in the next ch-2 space (corner).* Repeat from * around, working (3 dc, ch 2, 3 dc) in each corner ch-2 space and (3 dc) in each side ch-2 space, with ch 1 between each group. Join with a sl st to the top of the ch-3. Fasten off and weave in all ends. (Each side has 3 groups of 3 dc, corners have 6 dc with a ch-2 space)
Assembly: Joining Your Meadow
Once all 20 squares are complete, it's time to bring them together. Arrange them in a 4 by 5 grid, alternating the placement of colors so that no two identical color arrangements touch. This creates a balanced, organic look.
With right sides facing up, use the mattress stitch or whip stitch with MC to sew the squares together through the back loops only, matching the corner ch-2 spaces. Pro Tip: Sew all vertical seams first, then horizontal seams, to form a neat rectangle. This method ensures your seams are flat and invisible from the front.
Border: The Finishing Touch
The border adds structure and a polished finish to your blanket.
Round 1: With the right side facing, join MC in any corner ch-2 space. Ch 3 (counts as dc), (2 dc, ch 2, 3 dc) in the same corner space. *Work 3 dc in each ch-1 space and 3 dc in each seam across the side, working (3 dc, ch 2, 3 dc) in each corner ch-2 space.* Repeat from * around all four sides. Join with a sl st to the top of the ch-3.
Round 2: Ch 3 (counts as dc), dc in each dc around, working (2 dc, ch 2, 2 dc) in each corner ch-2 space. Join with a sl st to the top of the ch-3.
Round 3: Ch 1, single crochet (sc) in each dc around, working (sc, ch 2, sc) in each corner ch-2 space. Join with a sl st to the first sc. Fasten off and weave in all ends.
Finishing: Blocking for Perfection
To truly make your flower petals pop and ensure your blanket lies flat, blocking is essential. Gently wet-block the blanket by soaking it in cool water, gently squeezing out excess (do not wring), and laying it flat on a towel. Pin it to the desired dimensions and allow it to dry completely. This will even out the squares and enhance the beautiful stitch texture.
Your Enchanted Meadow Baby Blanket is now complete! This heirloom-quality piece is soft, textured, and full of handmade charm—a perfect gift for a baby shower or a treasured addition to your own nursery. Happy crocheting!