Driftwood Dune Cushion Cover Free Pattern – Knitted Pebble Stitch Pillow
Driftwood Dune Cushion Cover Free Pattern – Knitted Pebble Stitch Pillow
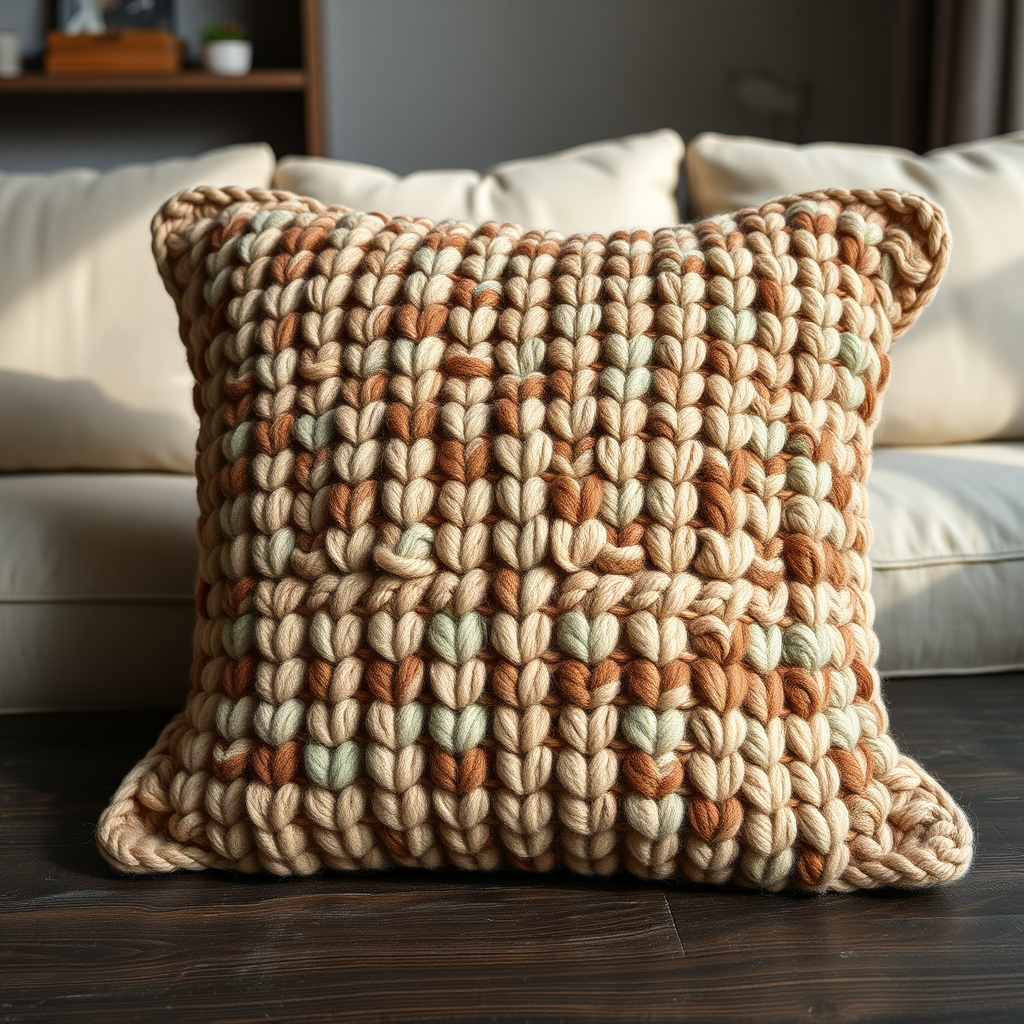
Bring the serene texture of a windswept shoreline into your living space with this knitted cushion cover, featuring a mesmerizing pebble stitch that mimics smooth, sun-warmed stones. The neutral, earthy palette and chunky yarn create a cozy, organic accent perfect for any modern hygge-inspired home. This free pattern is designed with beginners in mind, offering a relaxing, repetitive rhythm that produces a stunning, tactile result. Whether you're looking to add a coastal touch to your sofa or create a handmade gift, this Driftwood Dune cushion cover is the perfect project.
Materials Needed
Before you begin, gather the following supplies. Using the specified yarn weight and needle size is crucial to achieving the correct gauge and the plush, textured look of the sample.
- Yarn: Super bulky weight yarn (approx. 250g / 180m per skein) in three colors:
- Color A (Sand): Approx. 2 skeins (for the front base, back panel, and seaming).
- Color B (Driftwood): Approx. 1 skein (for the middle pebble stripe).
- Color C (Sea Glass): Approx. 1 skein (for the final pebble stripe).
- Knitting Needles: US 13 (9.0 mm) knitting needles. Straight needles are fine, but a circular needle (e.g., 24-inch) can be more comfortable for the larger back panel.
- Tapestry Needle: For weaving in ends and seaming the panels together.
- Pillow Insert: One 16x16 inch (40x40 cm) pillow form.
- Scissors: For cutting yarn.
Gauge
10 stitches x 14 rows = 4 inches (10 cm) in stockinette stitch. It is essential to check your gauge before starting. If your swatch is too small, try larger needles. If it's too large, try smaller needles. Achieving the correct gauge ensures your cushion cover will fit the 16-inch insert perfectly.
Step-by-Step Instructions
This pattern creates a 16x16 inch (40x40 cm) cushion cover. The front panel features the textured pebble stitch, while the back is a simple, smooth stockinette. You will knit two flat panels and seam them together, leaving an opening for the pillow insert.
Abbreviations
- CO: Cast on
- K: Knit
- P: Purl
- St(s): Stitch(es)
- RS: Right side
- WS: Wrong side
- Rep: Repeat
Front Panel (Pebble Stitch)
The pebble stitch is created by alternating rows of stockinette with rows of single ribbing. This simple combination creates the beautiful, raised "pebble" texture. Follow the color changes carefully to create the three distinct stripes.
With Color A (Sand), CO 40 sts.
Row 1 (RS): K all sts.
Row 2 (WS): P all sts.
Row 3: K1, *P1, K1; rep from * to end.
Row 4: P1, *K1, P1; rep from * to end.
Row 5: K all sts.
Row 6: P all sts.
This completes the first Sand-colored pebble section.
Row 7: Switch to Color B (Driftwood). K all sts.
Row 8: P all sts.
Row 9: K1, *P1, K1; rep from * to end.
Row 10: P1, *K1, P1; rep from * to end.
Row 11: K all sts.
Row 12: P all sts.
This completes the Driftwood-colored pebble section.
Row 13: Switch to Color C (Sea Glass). K all sts.
Row 14: P all sts.
Row 15: K1, *P1, K1; rep from * to end.
Row 16: P1, *K1, P1; rep from * to end.
Row 17: K all sts.
Row 18: P all sts.
This completes the Sea Glass-colored pebble section.
Repeat Rows 1-18 two more times (total 54 rows). This will give you three full sets of the three-color stripe sequence.
Then repeat Rows 1-6 once more with Color A (Sand). This creates a balanced border at the top of the panel.
Bind off loosely in pattern on the last row. To bind off in pattern, knit the knit stitches and purl the purl stitches as you bind them off. This keeps the edge stretchy and matches the ribbed texture. Weave in all ends.
Back Panel (Stockinette)
The back panel is a simple, smooth stockinette stitch, providing a clean contrast to the textured front.
With Color A (Sand), CO 40 sts.
Row 1 (RS): K all sts.
Row 2 (WS): P all sts.
Repeat these 2 rows until the panel measures 16 inches (40 cm) from the cast-on edge. This will be significantly more rows than the front panel, so be patient. It's a great mindless knitting project.
Bind off loosely. Weave in all ends.
Finishing
Now it's time to assemble your cushion cover. This seaming technique creates a neat, professional finish.
- Place the panels together: Place the front and back panels together with Right Sides (RS) facing out. This means the pretty pebble texture and the smooth stockinette will be on the outside, and the seam will be on the inside. (If you prefer a visible, decorative seam, you can place them with RS facing in, but the standard is to hide the seam.)
- Seam three sides: Using a tapestry needle and a long piece of Color A yarn, use a mattress stitch or a simple whipstitch to sew three sides of the square together. The mattress stitch creates an invisible seam, while the whipstitch is quicker and easier for beginners. Sew along the two sides and the bottom, leaving the top open.
- Insert the pillow form: Carefully insert your 16x16 inch (40x40 cm) pillow form into the opening. Gently push the corners of the pillow into the corners of the cover.
- Sew the fourth side closed: Using the same seaming technique, sew the remaining side closed. Make sure your stitches are secure and the yarn is pulled snugly, but not so tight that it puckers the fabric.
- Weave in any remaining ends: Use your tapestry needle to weave in any loose yarn ends on the inside of the cushion cover. Trim any excess yarn.
Your Driftwood Dune cushion cover is now complete! Place it on your sofa, bed, or favorite reading chair and enjoy the cozy, coastal texture you've created with your own hands.


