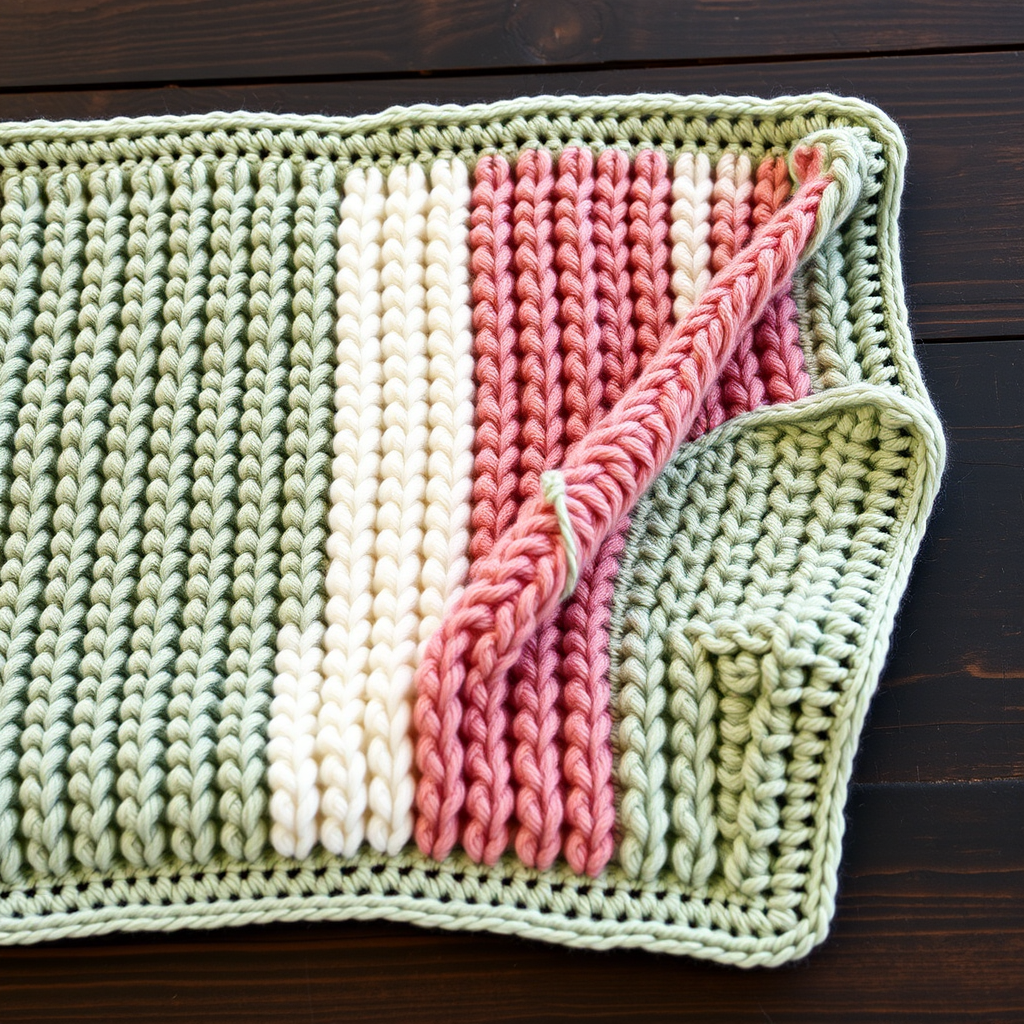
Cloud Nine Chunky Crochet Baby Blanket Free Pattern

Cloud Nine Chunky Crochet Baby Blanket: A Beginner's Dream Project
There's something truly magical about wrapping a new baby in a blanket made with your own two hands. The Cloud Nine Chunky Crochet Baby Blanket is the perfect project for both beginners and experienced crocheters alike. Using just one simple stitch pattern and super bulky yarn, this blanket works up quickly—often in just a weekend—making it an ideal last-minute baby shower gift or a heartfelt present for your own little one.
The beauty of this pattern lies in its elegant simplicity. The shell stitch creates a plush, textured fabric that looks intricate but is surprisingly easy to master. The chunky yarn ensures the blanket is thick, warm, and cloud-soft—exactly what you want for those precious snuggly moments. Plus, with its clean, scalloped edges and optional single crochet border, the finished result looks professionally made.
Whether you're a complete beginner looking for your first project or a seasoned maker seeking a quick and satisfying make, this pattern is designed with you in mind. Let's dive in and create something beautiful!
Materials Needed
Before you begin, gather these simple supplies. The beauty of this pattern is that it requires minimal materials—just yarn and a hook!
Yarn
- 2 skeins (approximately 250g each) of super bulky weight yarn (size 6)
- Suggested colors: soft pastels like 'Powder Pink' or 'Misty Blue'—but feel free to choose any color that speaks to you!
- Tip: Look for yarn labeled "super bulky" or "size 6" to ensure the correct thickness. Popular options include Bernat Blanket Yarn, Lion Brand Wool-Ease Thick & Quick, or any similar chunky yarn.
Hook
- Size L/11 (8 mm) crochet hook
Other Supplies
- Yarn needle (for weaving in ends)
- Scissors
- Measuring tape (optional, for checking gauge)
Gauge
4 shells (each shell = 2 dc, ch 1, 2 dc) and 6 rows = 4 inches. Don't worry too much about gauge for a blanket—as long as your stitches are even and consistent, your blanket will turn out beautifully!
Step-by-Step Instructions
Let's get started! This pattern is worked in rows, and the shell stitch creates a lovely repeating pattern. Follow along carefully, and you'll have a gorgeous blanket in no time.
Understanding the Stitches
- ch = chain
- dc = double crochet
- sk = skip
- sp = space
Finished Size
Approximately 32" x 32". You can easily adjust the size by adding or subtracting multiples of 6 + 2 to your starting chain. For example, to make a larger blanket, chain 50, 56, 62, etc.
Row 1: Foundation Row
- Make a slip knot and chain 44.
- Dc in the 4th ch from your hook. (The first 3 chains count as your first double crochet, so you now have 2 dc at the start.)
- Skip 2 chains.
- In the next chain, work a shell: (2 dc, ch 1, 2 dc) all in the same chain. This creates your first shell.
- Skip 2 chains.
- Dc in the next chain. This dc becomes the "post" between shells.
- Repeat steps 3–6 across the row: *sk 2 ch, shell in next ch, sk 2 ch, dc in next ch.*
- Continue until you reach the end of the row.
- Turn your work.
At the end of Row 1, you should have 7 shells and 8 dc posts (including the first and last dc).
Row 2: Building the Pattern
- Chain 3. This counts as your first double crochet for this row.
- Skip 2 dc (these are the two dc from the first half of the shell below).
- In the ch-1 space of the next shell (the gap between the two sets of 2 dc), work another shell: (2 dc, ch 1, 2 dc). This is called "shell in shell."
- Skip 2 dc (the second half of the shell below).
- Dc in the next dc (the post between shells).
- Repeat steps 2–5 across the row: *sk 2 dc, shell in ch-1 sp of next shell, sk 2 dc, dc in next dc.*
- At the end of the row, work your final dc into the top of the turning chain from the previous row.
- Turn your work.
Rows 3–24: The Main Body
- Repeat Row 2 for all remaining rows.
- Continue until your blanket measures approximately 32 inches from the starting edge.
- At the end of the last row, do not turn—you're ready to add the border.
Pro tip: Count your shells at the end of each row to make sure you haven't accidentally added or dropped any. You should always have 7 shells per row.
Border (Optional but Highly Recommended)
The border gives your blanket a clean, polished finish and helps stabilize the edges. It's simple and quick!
Round 1
- Chain 1.
- Single crochet (sc) evenly around the entire blanket. Work 1 sc in each stitch along the top and bottom edges, and 1 sc in each row-end along the sides.
- At each corner, work 3 sc in the corner stitch to help the border turn nicely.
- When you reach the starting point, join with a slip stitch to the first sc.
Round 2
- Chain 1.
- Sc in each sc around, working 3 sc in the center sc of each corner (the middle of the 3 corner stitches from Round 1).
- Join with a slip stitch to the first sc.
- Fasten off and weave in all ends with your yarn needle.
Finishing Touches
- Weave in all loose ends using your yarn needle. Be sure to weave them in securely so they don't come loose with washing.
- Block your blanket (optional but recommended): Lay it flat on a clean surface, mist it lightly with water, and gently shape it to even out the stitches. Allow it to dry completely.
- Once dry, your Cloud Nine blanket is ready to gift or snuggle!
Tips for Success
- Keep your tension consistent. Chunky yarn can be tricky if you crochet too tightly or too loosely. Try to maintain an even, relaxed grip.
- Count your stitches. It's much easier to fix a mistake early than to rip out rows later.
- Use a stitch marker at the beginning of each row if you find it helpful to track your place.
- Don't stress about perfection. Handmade items have character—small variations make them unique and special.
Washing and Care Instructions
To keep your blanket looking its best, hand wash in cold water with a gentle detergent and lay flat to dry. Avoid wringing or twisting, as this can distort the shape. With proper care, this blanket will be a cherished keepsake for years to come.
We hope you enjoy making your Cloud Nine Chunky Crochet Baby Blanket! It's a wonderful project that yields beautiful, practical results. Whether you're making it for your own baby, a grandchild, or as a gift for a friend, the love and care you stitch into every shell will be felt with every snuggle. Happy crocheting!