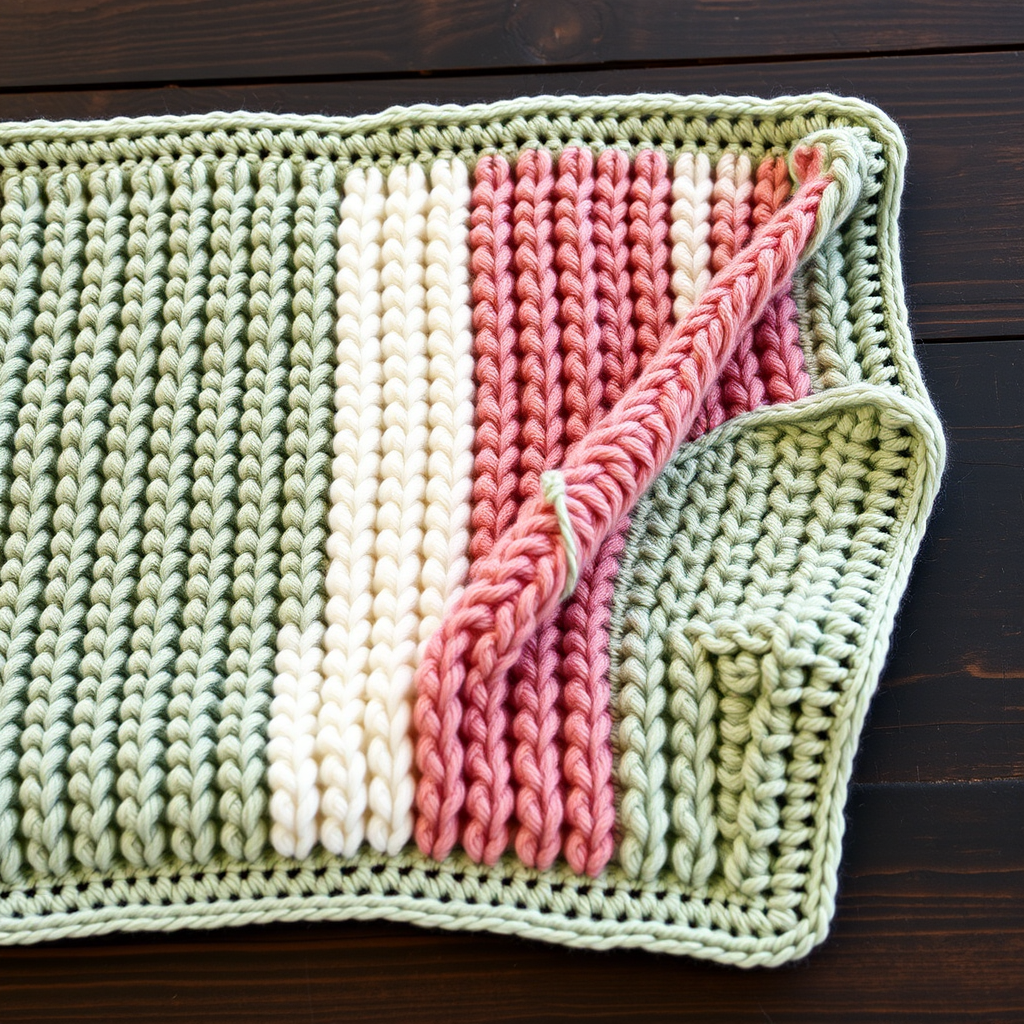
Aurora Waves Baby Blanket Free Pattern

Aurora Waves Baby Blanket: A Beginner-Friendly Crochet Pattern
Wrap your little one in the soothing, textured embrace of the Aurora Waves Baby Blanket—a modern take on the classic ripple stitch. This cozy crochet pattern creates a stunning, gradient-like effect using simple stitches and strategic color changes. Whether you're a seasoned maker or picking up a hook for the first time, this beginner-friendly pattern is designed to guide you through every step, resulting in a beautiful, handmade heirloom. The gentle peaks and valleys of the ripple stitch are not only visually calming but also incredibly satisfying to create. Let's dive into this free pattern and craft something truly special for your nursery.
Materials Needed
Before you begin, gather the following supplies to ensure a smooth and enjoyable crochet session. This project is perfect for using up a stash of worsted weight yarn or treating yourself to a new coordinated palette.
- Yarn: Worsted weight (Category 4) yarn in 3 colors:
- Color A: Soft Cream (approx. 400 yards)
- Color B: Dusty Blue (approx. 400 yards)
- Color C: Sage Green (approx. 400 yards)
- Crochet Hook: Size I/9 (5.5 mm) hook. This size is ideal for worsted weight yarn to create a soft, drapey fabric.
- Other Tools: Yarn needle for weaving in ends, scissors, and stitch markers (optional, but helpful for marking the peaks and valleys).
Gauge & Size
For this pattern, the gauge is 14 double crochet (dc) stitches x 8 rows = 4 inches in the ripple pattern (after blocking). The finished blanket will measure approximately 34 inches long and 30 inches wide, making it the perfect size for a stroller, crib, or cuddle time.
Step-by-Step Instructions
Follow these detailed instructions carefully. The pattern is worked in rows, and the ripple effect is created by skipping stitches (valleys) and working increases (peaks). Don't worry if it looks a little wavy at first—that's the magic of the ripple!
Pattern Notes
- Worked in rows. The chain count is a multiple of 12 + 2.
- Each row begins with a turning chain of 3, which counts as the first double crochet (dc) of that row.
- Use stitch markers to mark the ch-1 spaces at the peaks and the skipped stitches at the valleys to keep your place.
Foundation & Row 1 (Color A)
With Color A (Soft Cream), make a slip knot and chain 92.
Row 1: Dc in the 4th chain from the hook (the skipped chains count as your first dc). Dc in the next 4 chains. Now you will create your first valley: *Skip 2 chains, dc in the next 5 chains. To create a peak: (dc, ch 1, dc) all in the next chain. Dc in the next 5 chains. Skip 2 chains (valley). Dc in the next 5 chains.* Repeat from * to * across the row, ending with a dc in the last 5 chains. Turn your work. (You should have 7 peaks and 6 valleys).
Row 2 (Color A)
Row 2: Chain 3 (counts as your first dc). Dc in the next 4 dc stitches. *Skip 2 dc (this is your valley). Dc in the next 5 dc. Work a peak: (dc, ch 1, dc) in the ch-1 space from the row below. Dc in the next 5 dc. Skip 2 dc. Dc in the next 5 dc.* Repeat from * to * across, ending with a dc in the last 5 dc. Turn.
Row 3 & Color Change (Color A to Color B)
Row 3: Repeat Row 2 exactly. At the end of Row 3, you will have completed the first color block. Fasten off Color A and join Color B (Dusty Blue) in the last stitch.
Rows 4-6 (Color B)
Rows 4-6: With Color B, repeat Row 2 for three full rows. This creates a solid band of dusty blue. At the end of Row 6, fasten off Color B and join Color C (Sage Green).
Rows 7-9 (Color C)
Rows 7-9: With Color C, repeat Row 2 for three full rows. This completes the sage green band. At the end of Row 9, fasten off Color C and join Color A again.
Continuing the Pattern
Now that you have the rhythm, you will continue the 9-row color sequence (3 rows of Color A, 3 rows of Color B, 3 rows of Color C) until the blanket measures approximately 30 inches from the foundation chain. It is best to end with a full color sequence (3 rows of the same color) to keep the edges neat. You will have approximately 3 full color sequences total.
Final Border (Optional but Recommended)
To give your blanket a polished, finished look, we will add a simple single crochet border.
Final Row: With Color A (or your preferred color), work a row of single crochet (sc) evenly across the top edge. To keep the edge flat, work 2 sc in each dc and 1 sc in each ch-1 space. Fasten off and weave in all loose ends with your yarn needle.
Blocking Your Blanket
Blocking is a crucial step to make your ripple pattern shine. It evens out the stitches and sets the shape beautifully.
How to Block: Gently soak the blanket in cool water with a drop of mild soap. Squeeze out the excess water (do not wring). Lay the blanket flat on a clean towel or blocking mat. Gently stretch it to the desired dimensions (approx. 34" x 30"), paying special attention to the peaks and valleys to ensure they are even and sharp. Pin the edges if necessary. Allow it to dry completely before removing.
Your Aurora Waves Baby Blanket is now complete! The soft, textured waves and soothing gradient of cream, blue, and sage will create a cozy and stylish addition to any nursery. This pattern is a joy to make and an even greater joy to gift. Happy crocheting!