Aurora Borealis Chunky Scarf Free Pattern – Color-Shifting Knitted Wrap
Aurora Borealis Chunky Scarf Free Pattern – Color-Shifting Knitted Wrap
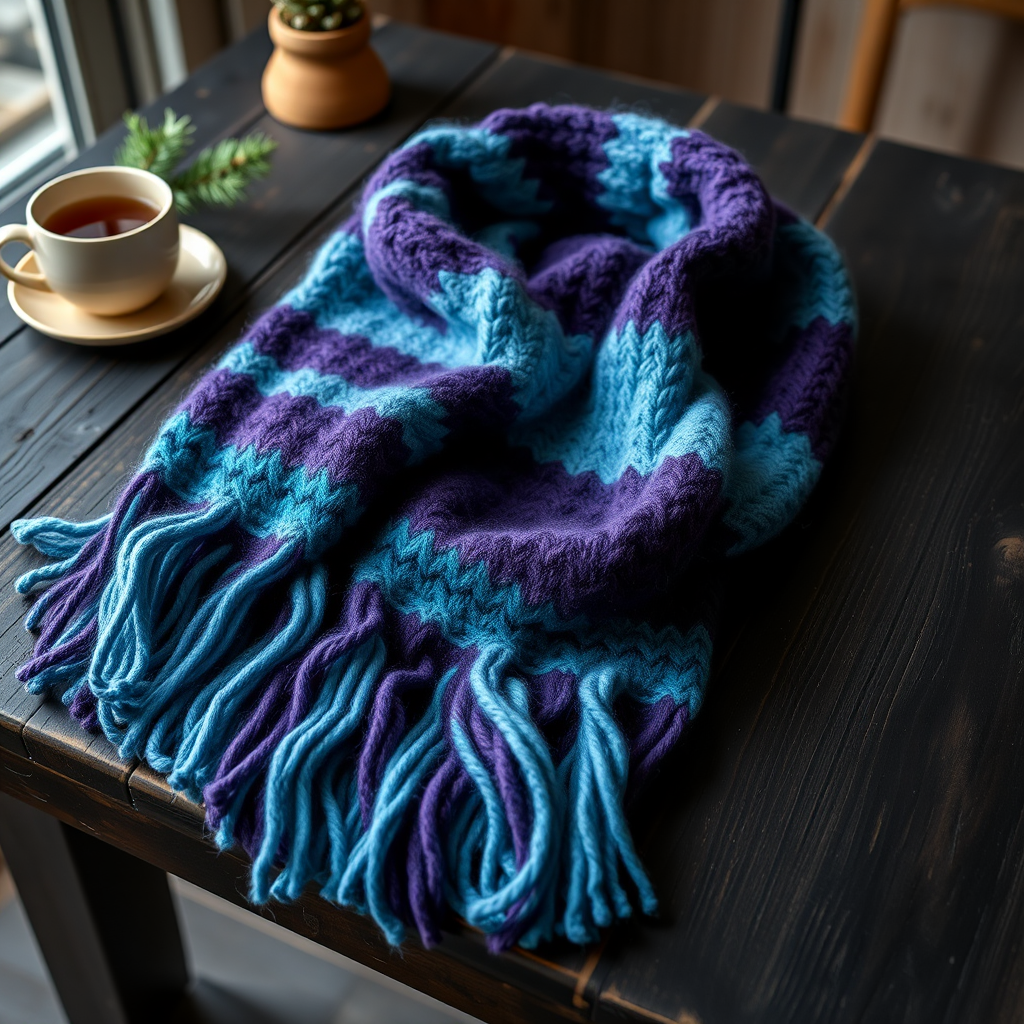
Wrap yourself in the magic of the northern lights with this chunky, color-shifting scarf that blends deep teal, violet, and icy blue. The textured ribbed stitch creates a cozy, dimensional fabric that's perfect for cold-weather style. This pattern is designed with beginners in mind—using only knit and purl stitches—and the super bulky yarn means your scarf works up quickly, making it a satisfying weekend project. Whether you're gifting it or keeping it for yourself, this scarf is sure to become a winter favorite.
Materials Needed
Before you begin, gather the following supplies. Having everything ready will make your knitting experience smooth and enjoyable.
- Yarn: Super bulky weight yarn (size 6) in 3 colors:
- Color A (Deep Teal) – approx. 220 yds
- Color B (Violet) – approx. 220 yds
- Color C (Icy Blue) – approx. 220 yds
- Needles: US Size 13 (9 mm) knitting needles
- Extras: Tapestry needle for weaving in ends, crochet hook (for fringe), scissors
- Gauge: 8 stitches x 12 rows = 4 inches in ribbed pattern (k2, p2). Tip: Always knit a swatch to check your gauge—this ensures your scarf matches the finished size.
Step-by-Step Instructions
This pattern is worked in a simple 2x2 rib, which creates a stretchy, textured fabric that lies flat and looks beautiful on both sides. The color changes are worked in sections, creating a stunning gradient effect. Follow along carefully, and you'll have a gorgeous scarf in no time.
Finished Size
Approx. 8 inches wide x 70 inches long (excluding fringe).
Abbreviations
- CO = cast on
- K = knit
- P = purl
- st(s) = stitch(es)
- RS = right side
- WS = wrong side
Pattern Foundation
The entire scarf uses the same two-row repeat. Once you master these two rows, you can knit the whole scarf without referring back to the pattern constantly.
- Row 1 (RS): P2, *K2, P2; repeat from * to end.
- Row 2 (WS): K2, *P2, K2; repeat from * to end.
Note: Always end each section with a WS row before changing colors. This ensures your color changes happen on the right side for a clean, professional look.
Section 1: Color A (Deep Teal)
- Cast On: With Color A, CO 32 sts. Leave a tail of about 6 inches for weaving in later.
- Row 1 (RS): P2, *K2, P2; repeat from * to end.
- Row 2 (WS): K2, *P2, K2; repeat from * to end.
- Repeat Rows 1 and 2 until the piece measures 14 inches from the cast-on edge, ending with a WS row (Row 2).
Section 2: Color B (Violet)
- Change to Color B: Simply start knitting with the new yarn. Leave a tail of about 6 inches to weave in later. You can tie the old and new yarns together loosely to keep tension, but you'll remove this knot later when weaving in ends.
- Continue repeating Rows 1 and 2 (the same rib pattern) until the piece measures 28 inches from the cast-on edge, ending with a WS row.
Section 3: Color C (Icy Blue)
- Change to Color C: As before, begin knitting with the new color, leaving a 6-inch tail.
- Continue repeating Rows 1 and 2 until the piece measures 42 inches from the cast-on edge, ending with a WS row.
Section 4: Color B (Violet)
- Change back to Color B: Pick up the Color B yarn again (or cut a new length if you've been working with separate balls). Leave a tail for weaving in.
- Continue repeating Rows 1 and 2 until the piece measures 56 inches from the cast-on edge, ending with a WS row.
Section 5: Color A (Deep Teal)
- Change back to Color A: Switch back to your original color, leaving a tail.
- Continue repeating Rows 1 and 2 until the piece measures 70 inches from the cast-on edge, ending with a WS row.
- Bind Off: On the RS, bind off loosely in pattern (K2, P2). To do this: K2, then *P2, pass the first stitch over the second (as in a standard bind off), K2, pass the previous stitch over, repeat from * until all stitches are bound off. Cut yarn, leaving a 6-inch tail, and pull through the last loop.
Finishing Touches
Now that your scarf is knitted, it's time to add the finishing details that make it truly special.
Weave in Ends
- Thread a tapestry needle with one of the yarn tails.
- Weave the tail through the purl bumps on the wrong side of the fabric, following the path of the yarn. Go in one direction for about 2 inches, then double back and weave in the opposite direction for extra security.
- Trim the excess yarn close to the fabric. Repeat for all tails.
Add Fringe
The fringe adds movement and a playful touch to your scarf. Here's how to make it perfectly even.
- Cut yarn: Cut 12-inch lengths of yarn in each color. You'll need about 30 strands total (10 of each color).
- Group strands: For each fringe, take 3 strands—one of each color—and fold them in half to create a loop at the top.
- Attach fringe: Insert a crochet hook through the edge stitch at one short end of the scarf. Pull the folded loop of yarn through the stitch.
- Secure: Pull the loose ends of the yarn through the loop and tighten gently. The fringe should sit snugly against the edge.
- Spacing: Place fringe every 2 inches along both short ends. With a 8-inch wide scarf, you'll have about 5 fringes per end (one at each corner and three evenly spaced in between).
- Trim: Once all fringe is attached, lay the scarf flat and trim the fringe evenly to 5 inches long. Use sharp scissors for a clean cut.
Optional: Steam Block
If your stitches look uneven or the edges curl slightly, a light steam block will fix it.
- Lay the scarf flat on a towel or blocking mat.
- Hold a steam iron about 1 inch above the fabric (do not press down) and steam the entire scarf.
- Let it dry completely before wearing. This will relax the yarn and even out your stitches.
Tips for Success
- Keep your tension consistent: When changing colors, don't pull the new yarn too tight or too loose. Aim for the same tension as your regular knitting.
- Count your stitches occasionally: It's easy to accidentally add or drop a stitch in ribbing. Every few inches, count to make sure you still have 32 stitches.
- Use stitch markers: Place a marker every 8 stitches if you find it hard to keep track of the pattern. This helps you catch mistakes early.
- Don't rush the bind off: A tight bind off will make the edge pucker. If you find yourself pulling too tight, go up a needle size just for the bind off row.
And there you have it—a stunning, color-shifting Aurora Borealis scarf that's as cozy as it is beautiful. The rhythmic ribbing is meditative to knit, and the color changes keep things interesting. Whether you're a beginner looking for your next project or an experienced knitter wanting a quick, satisfying make, this pattern delivers. Enjoy your handmade creation, and don't forget to show it off!


